Workshop Projects

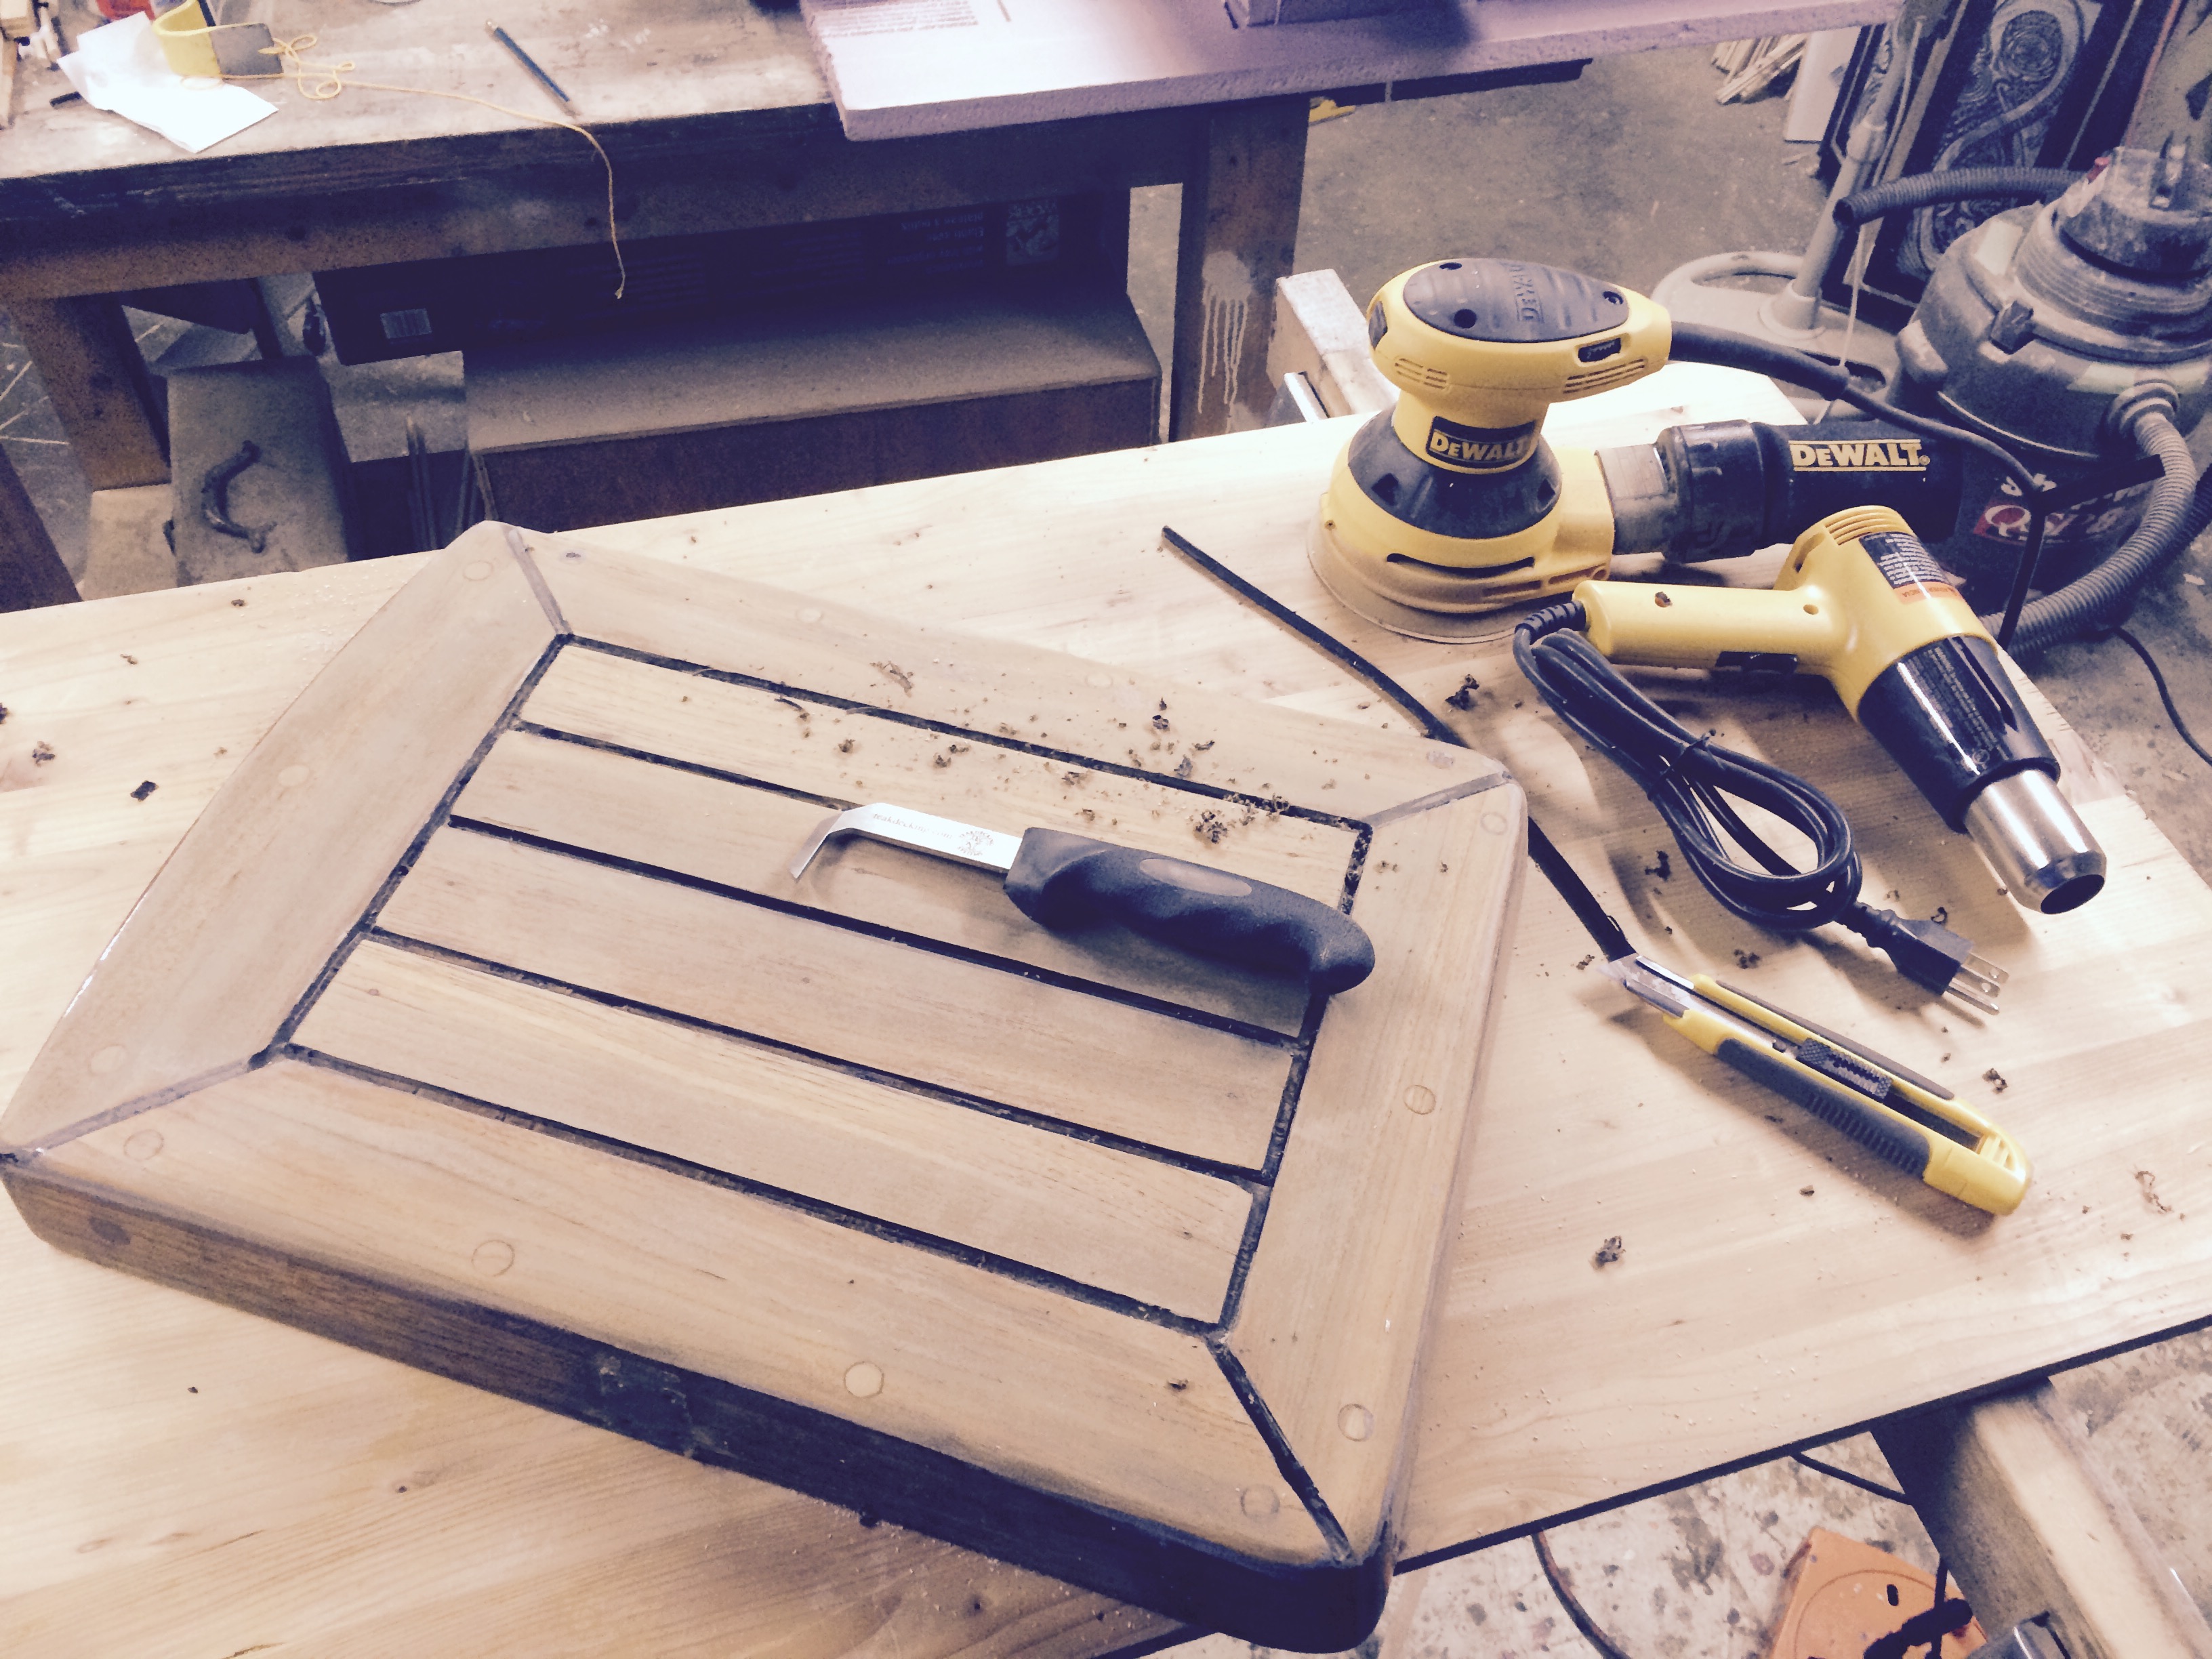
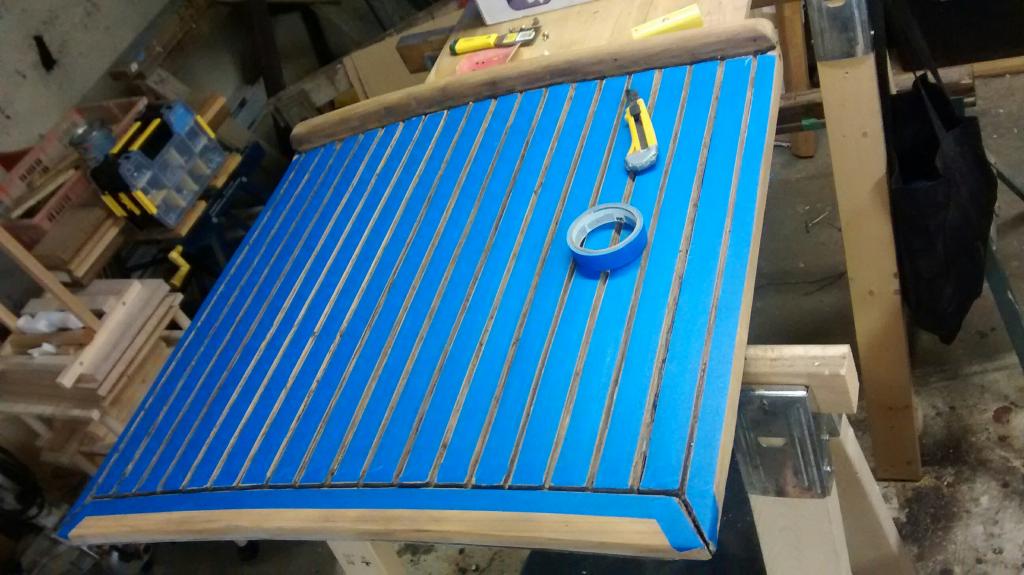
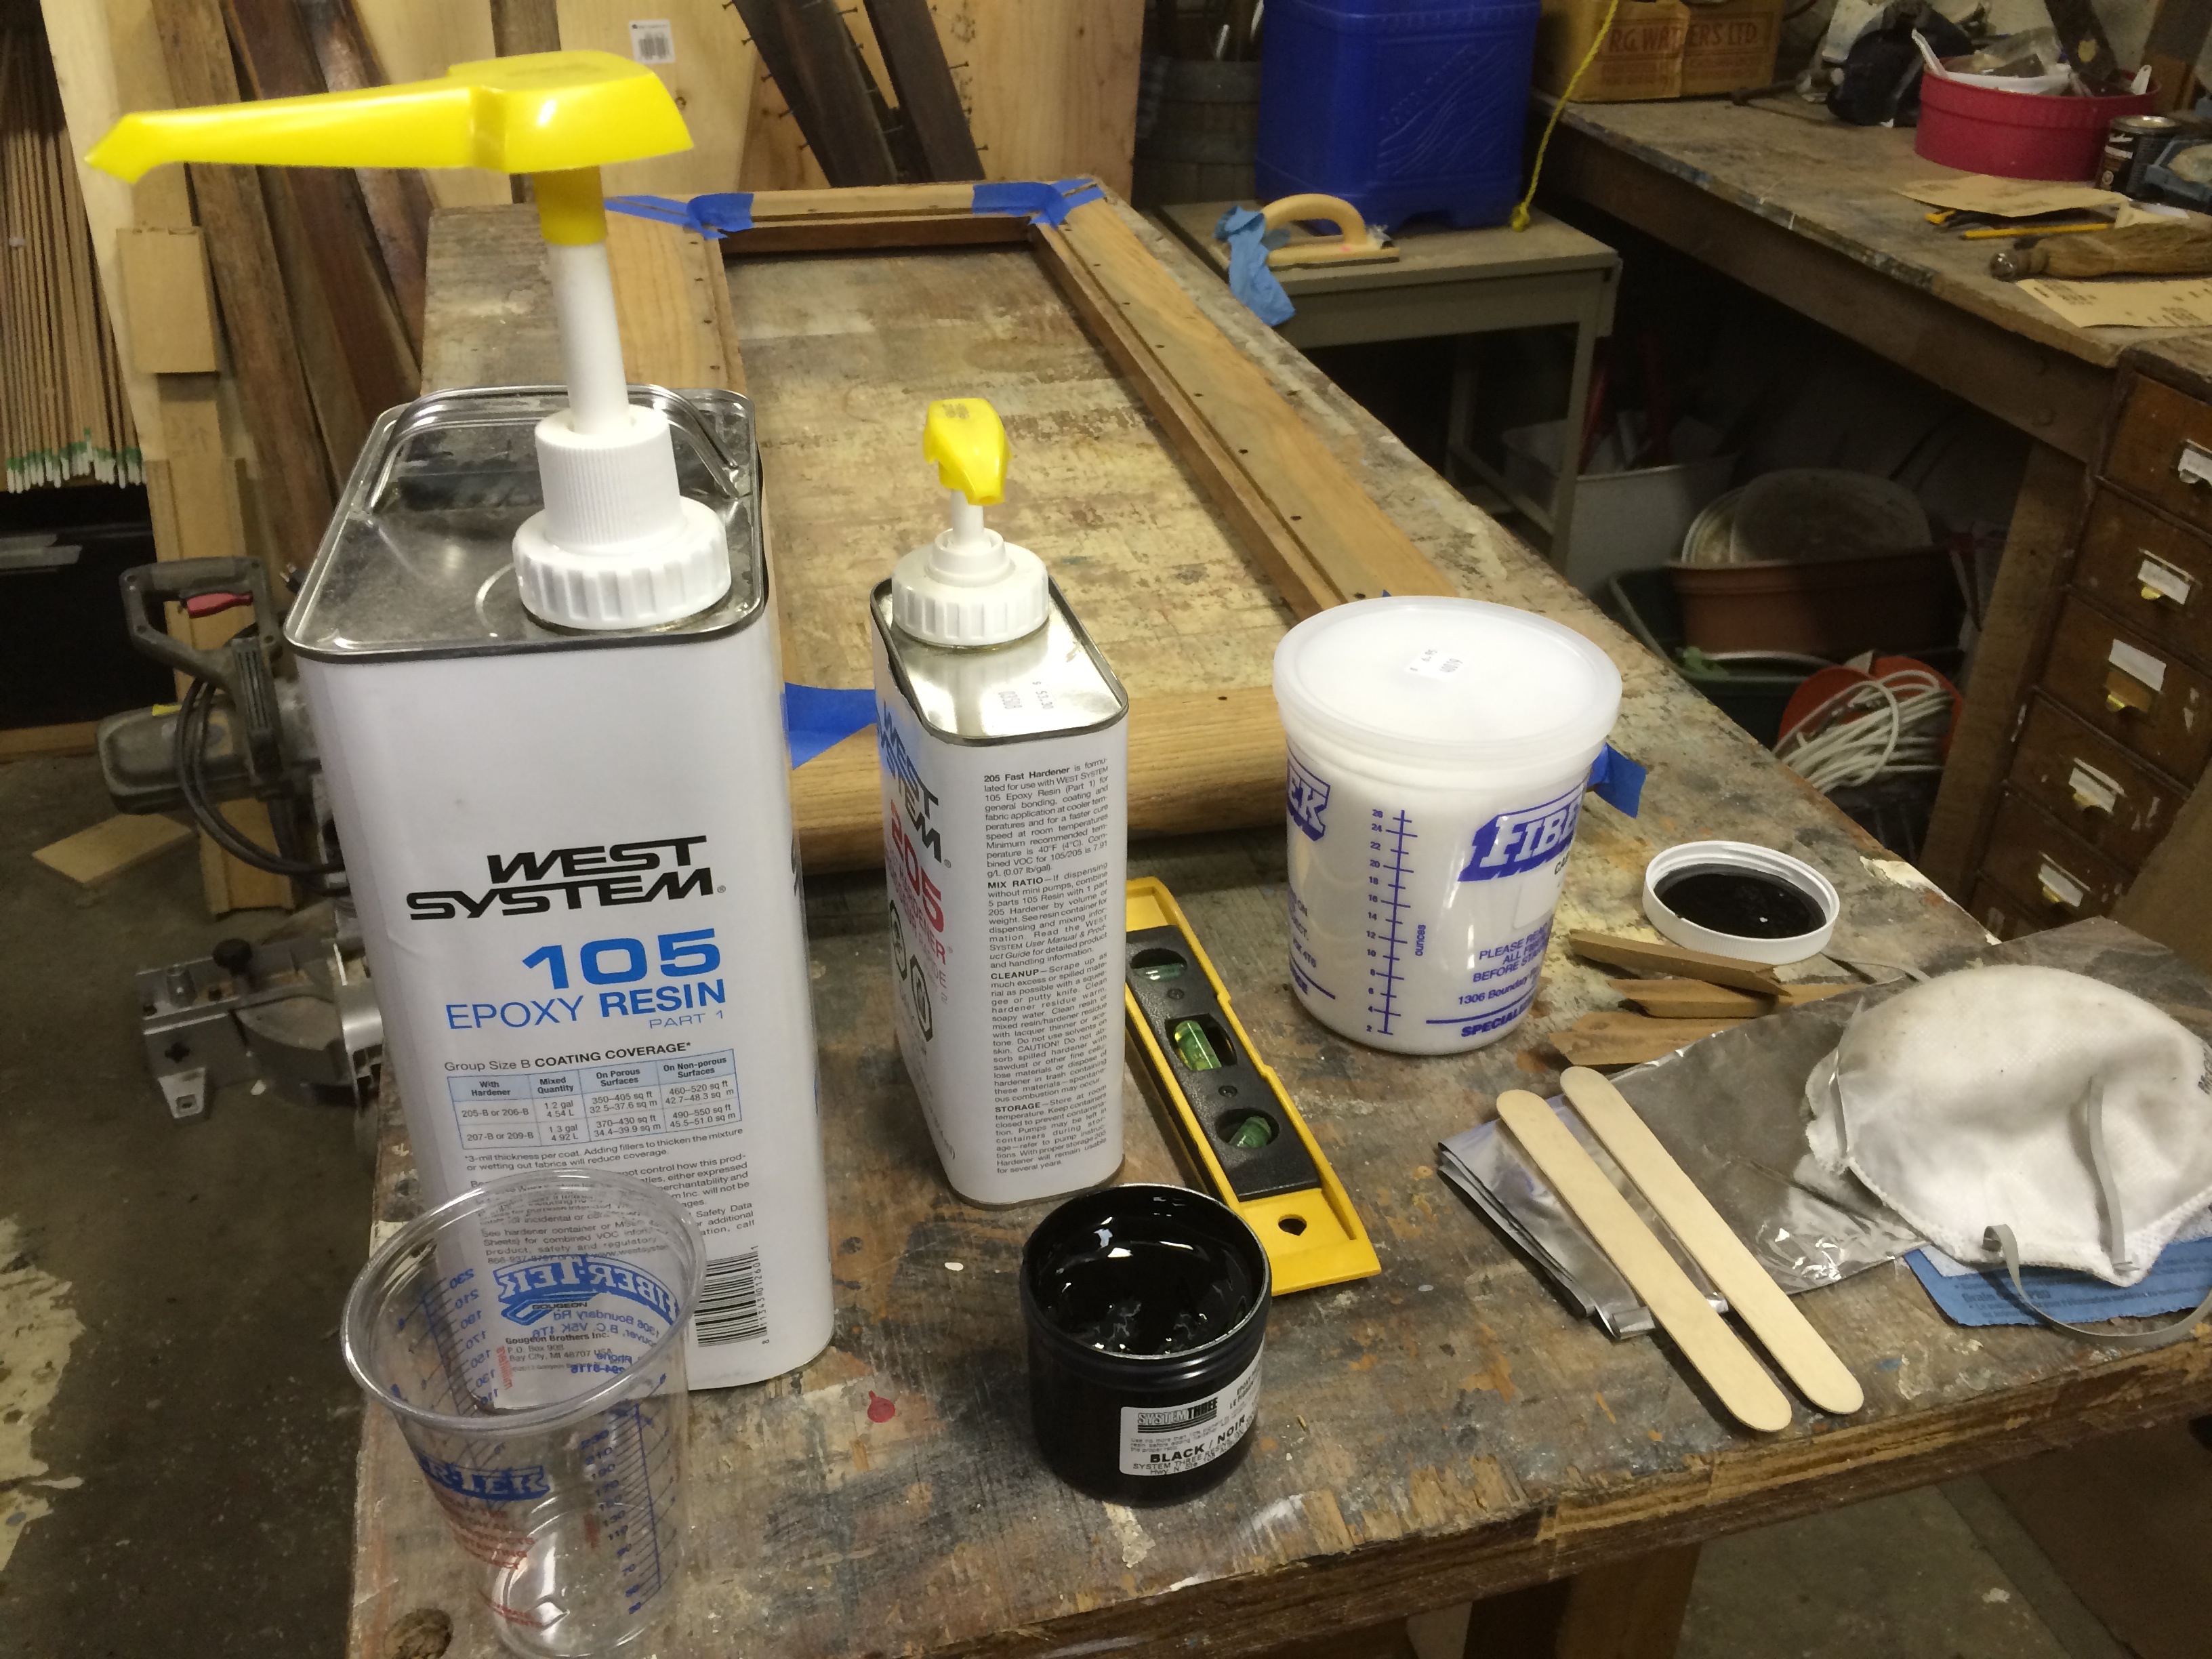
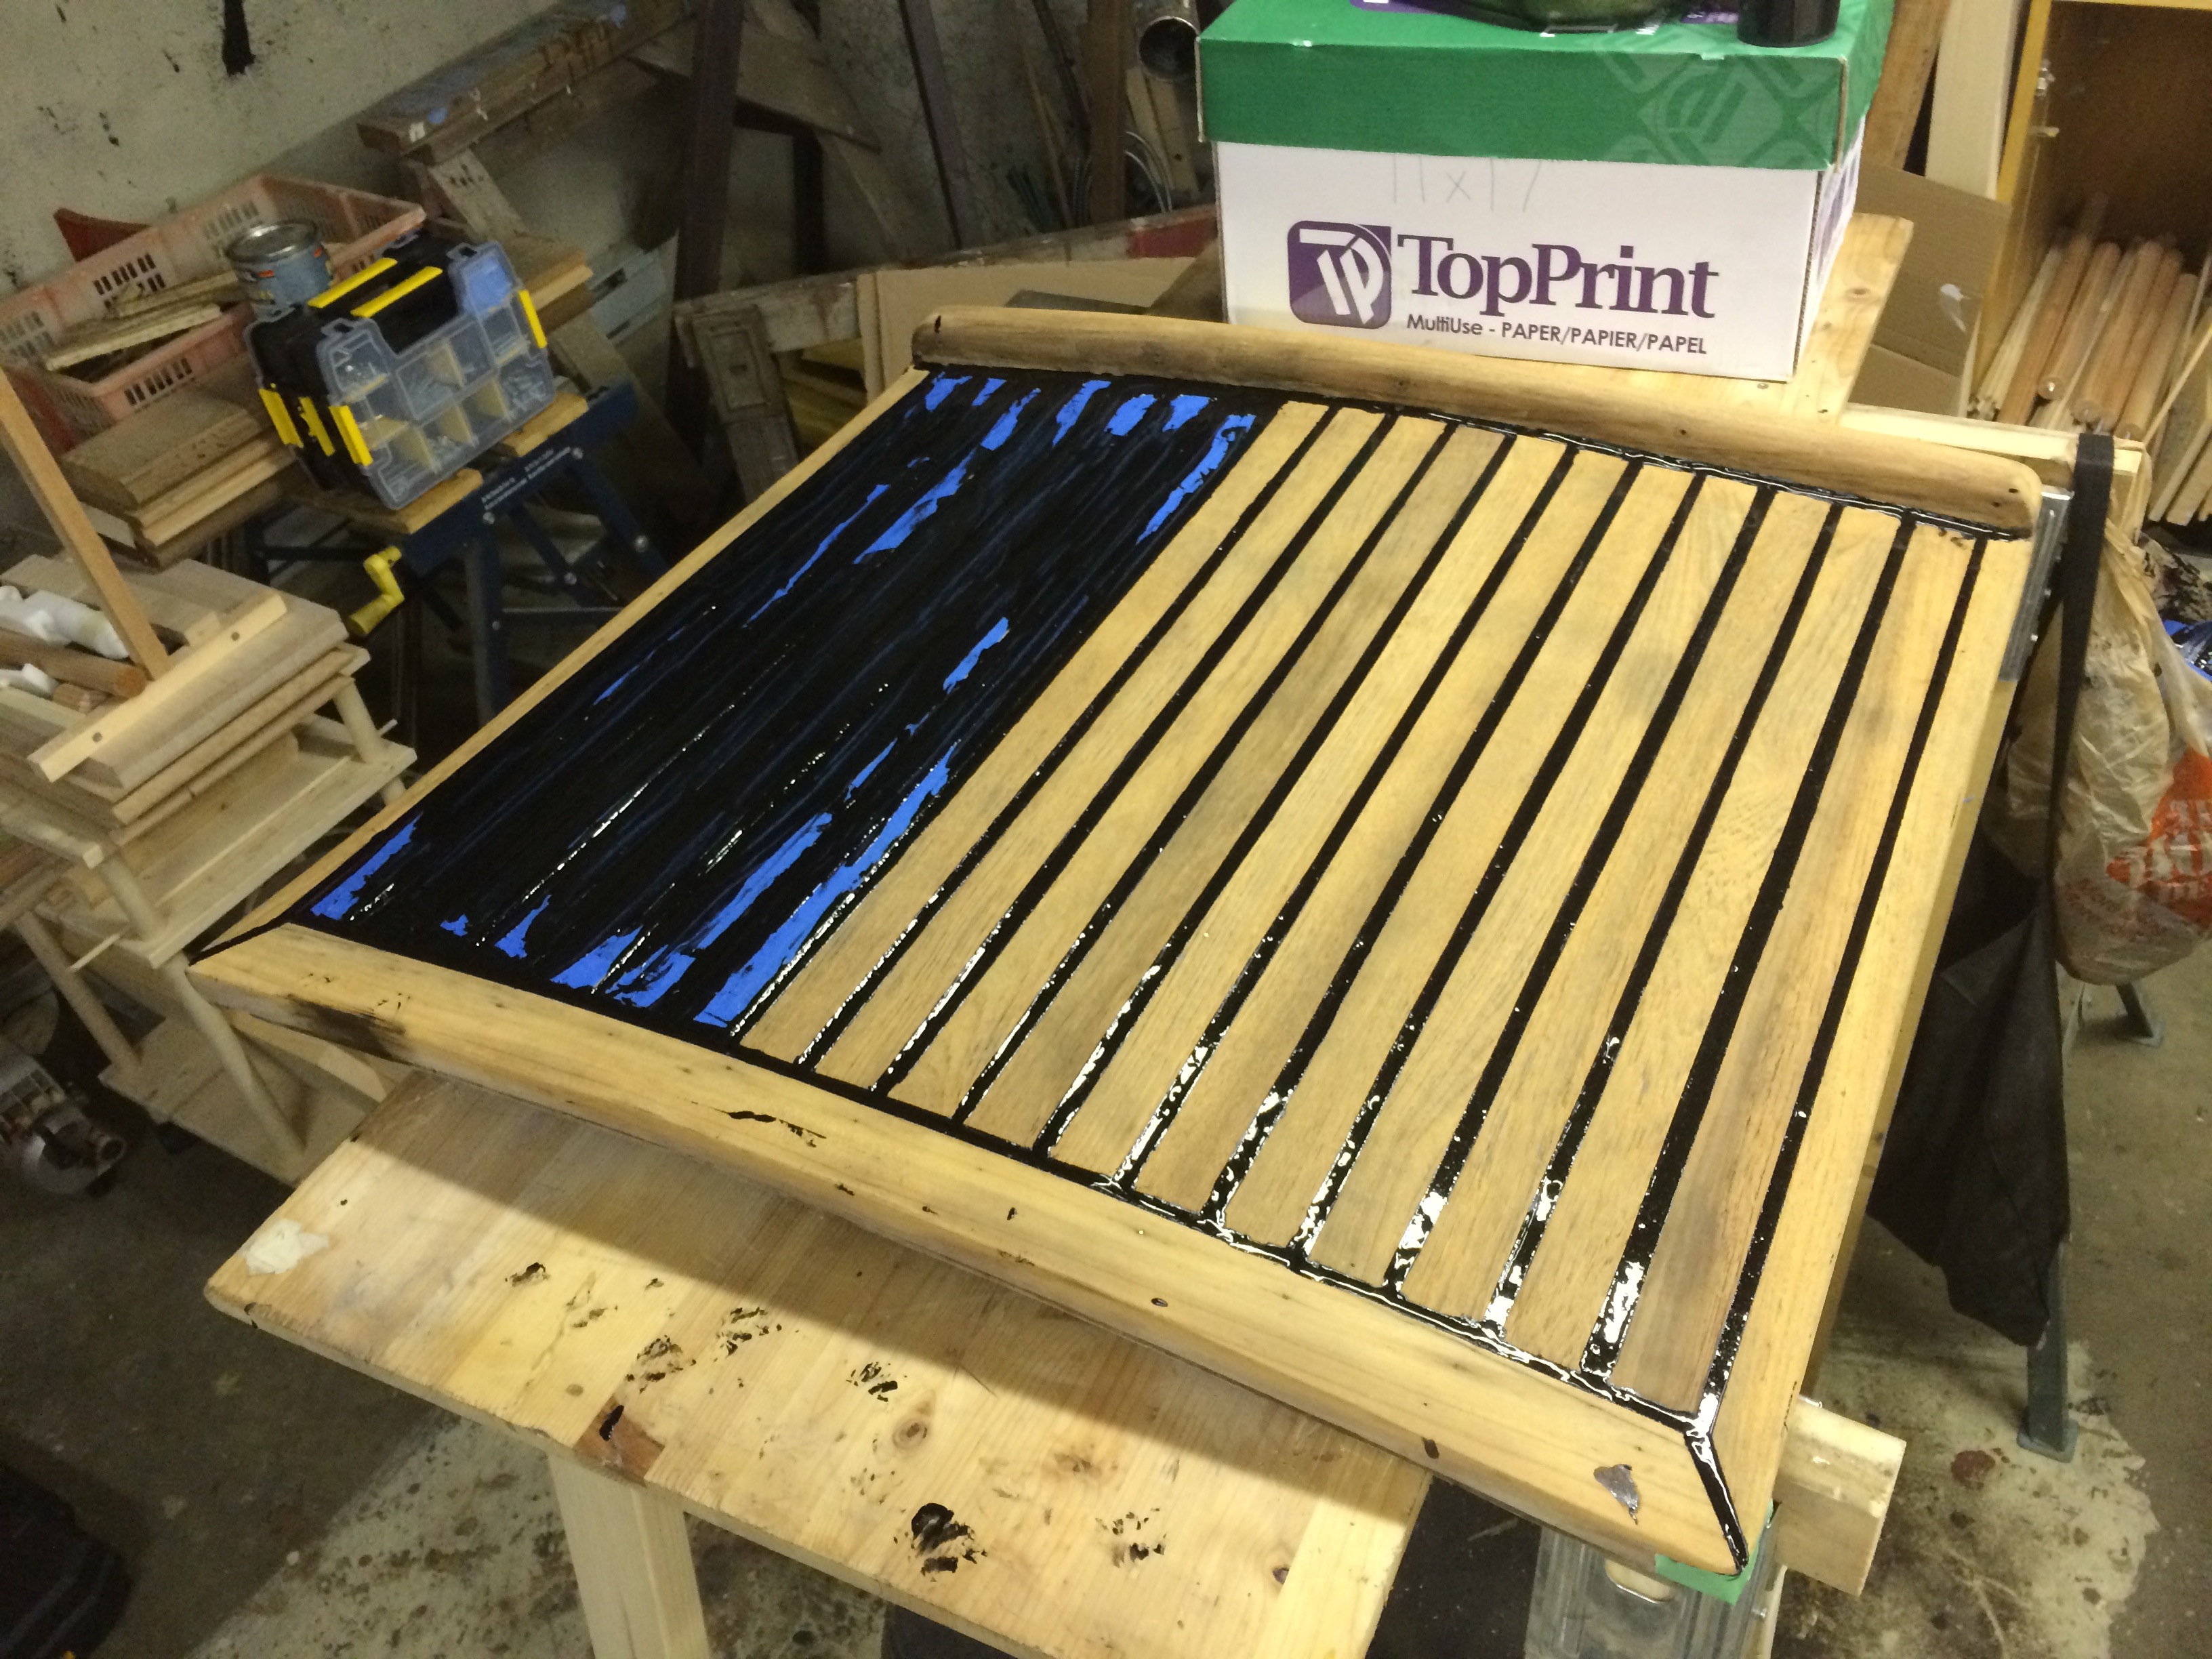
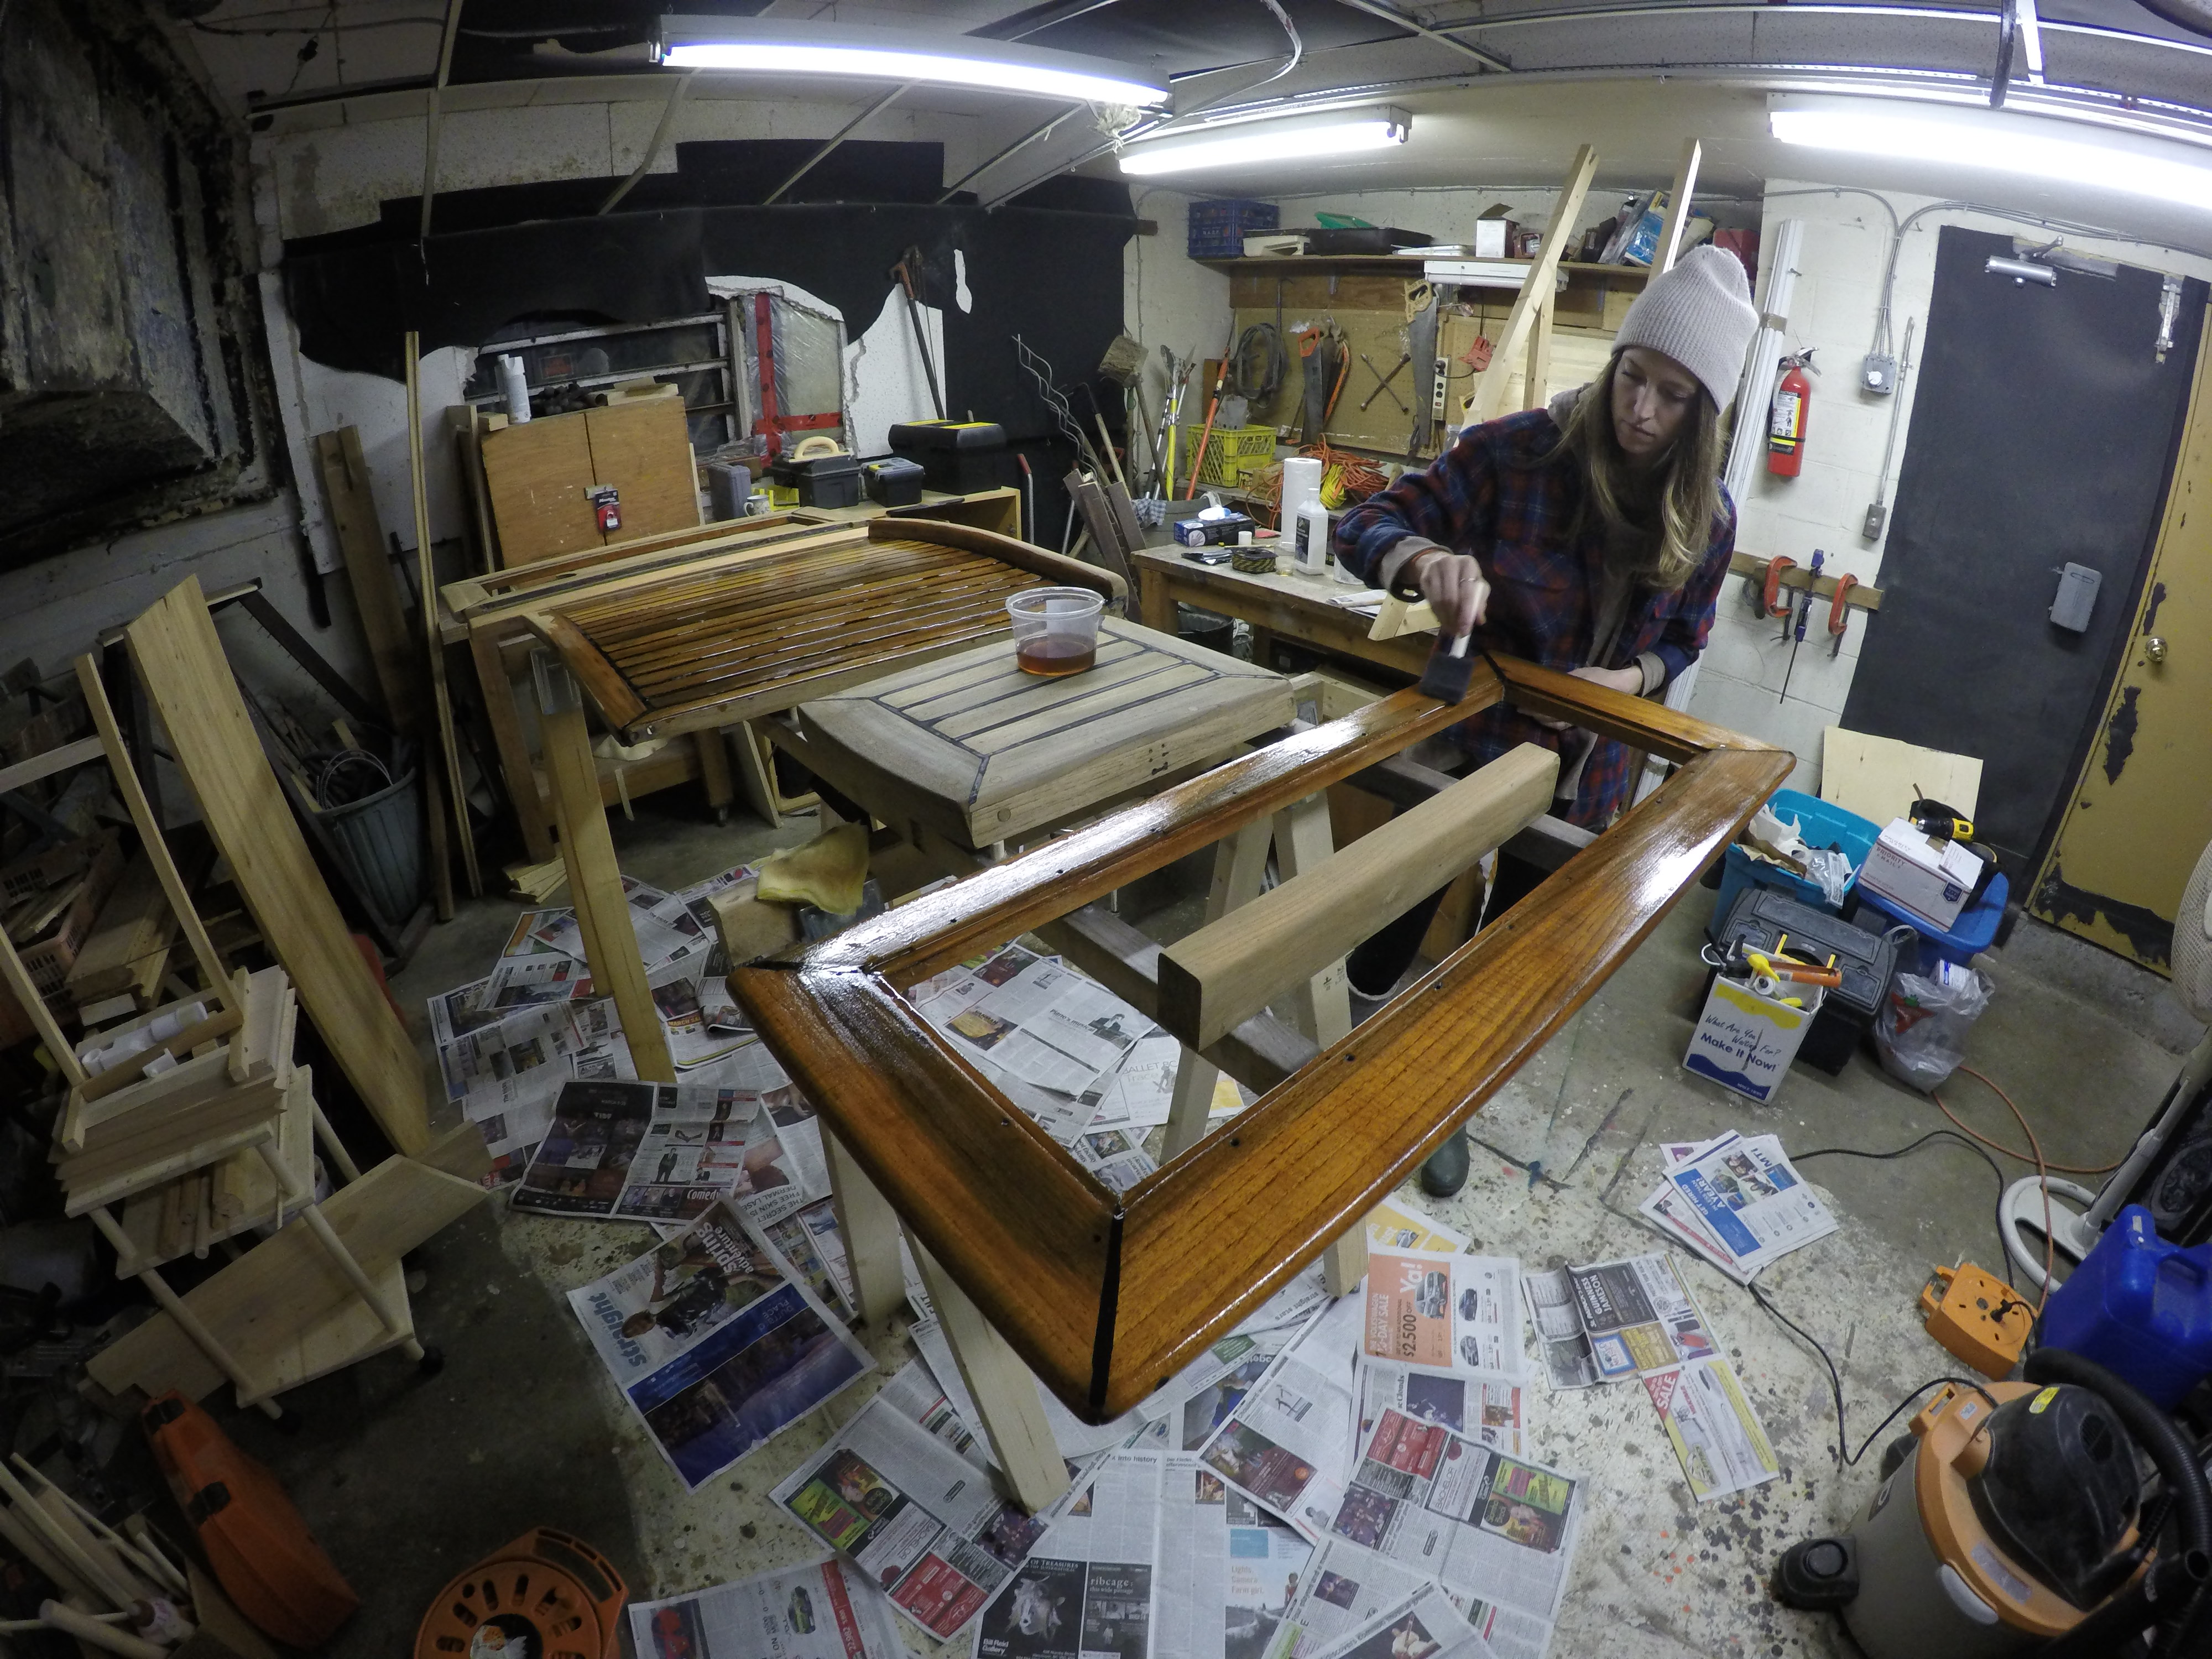
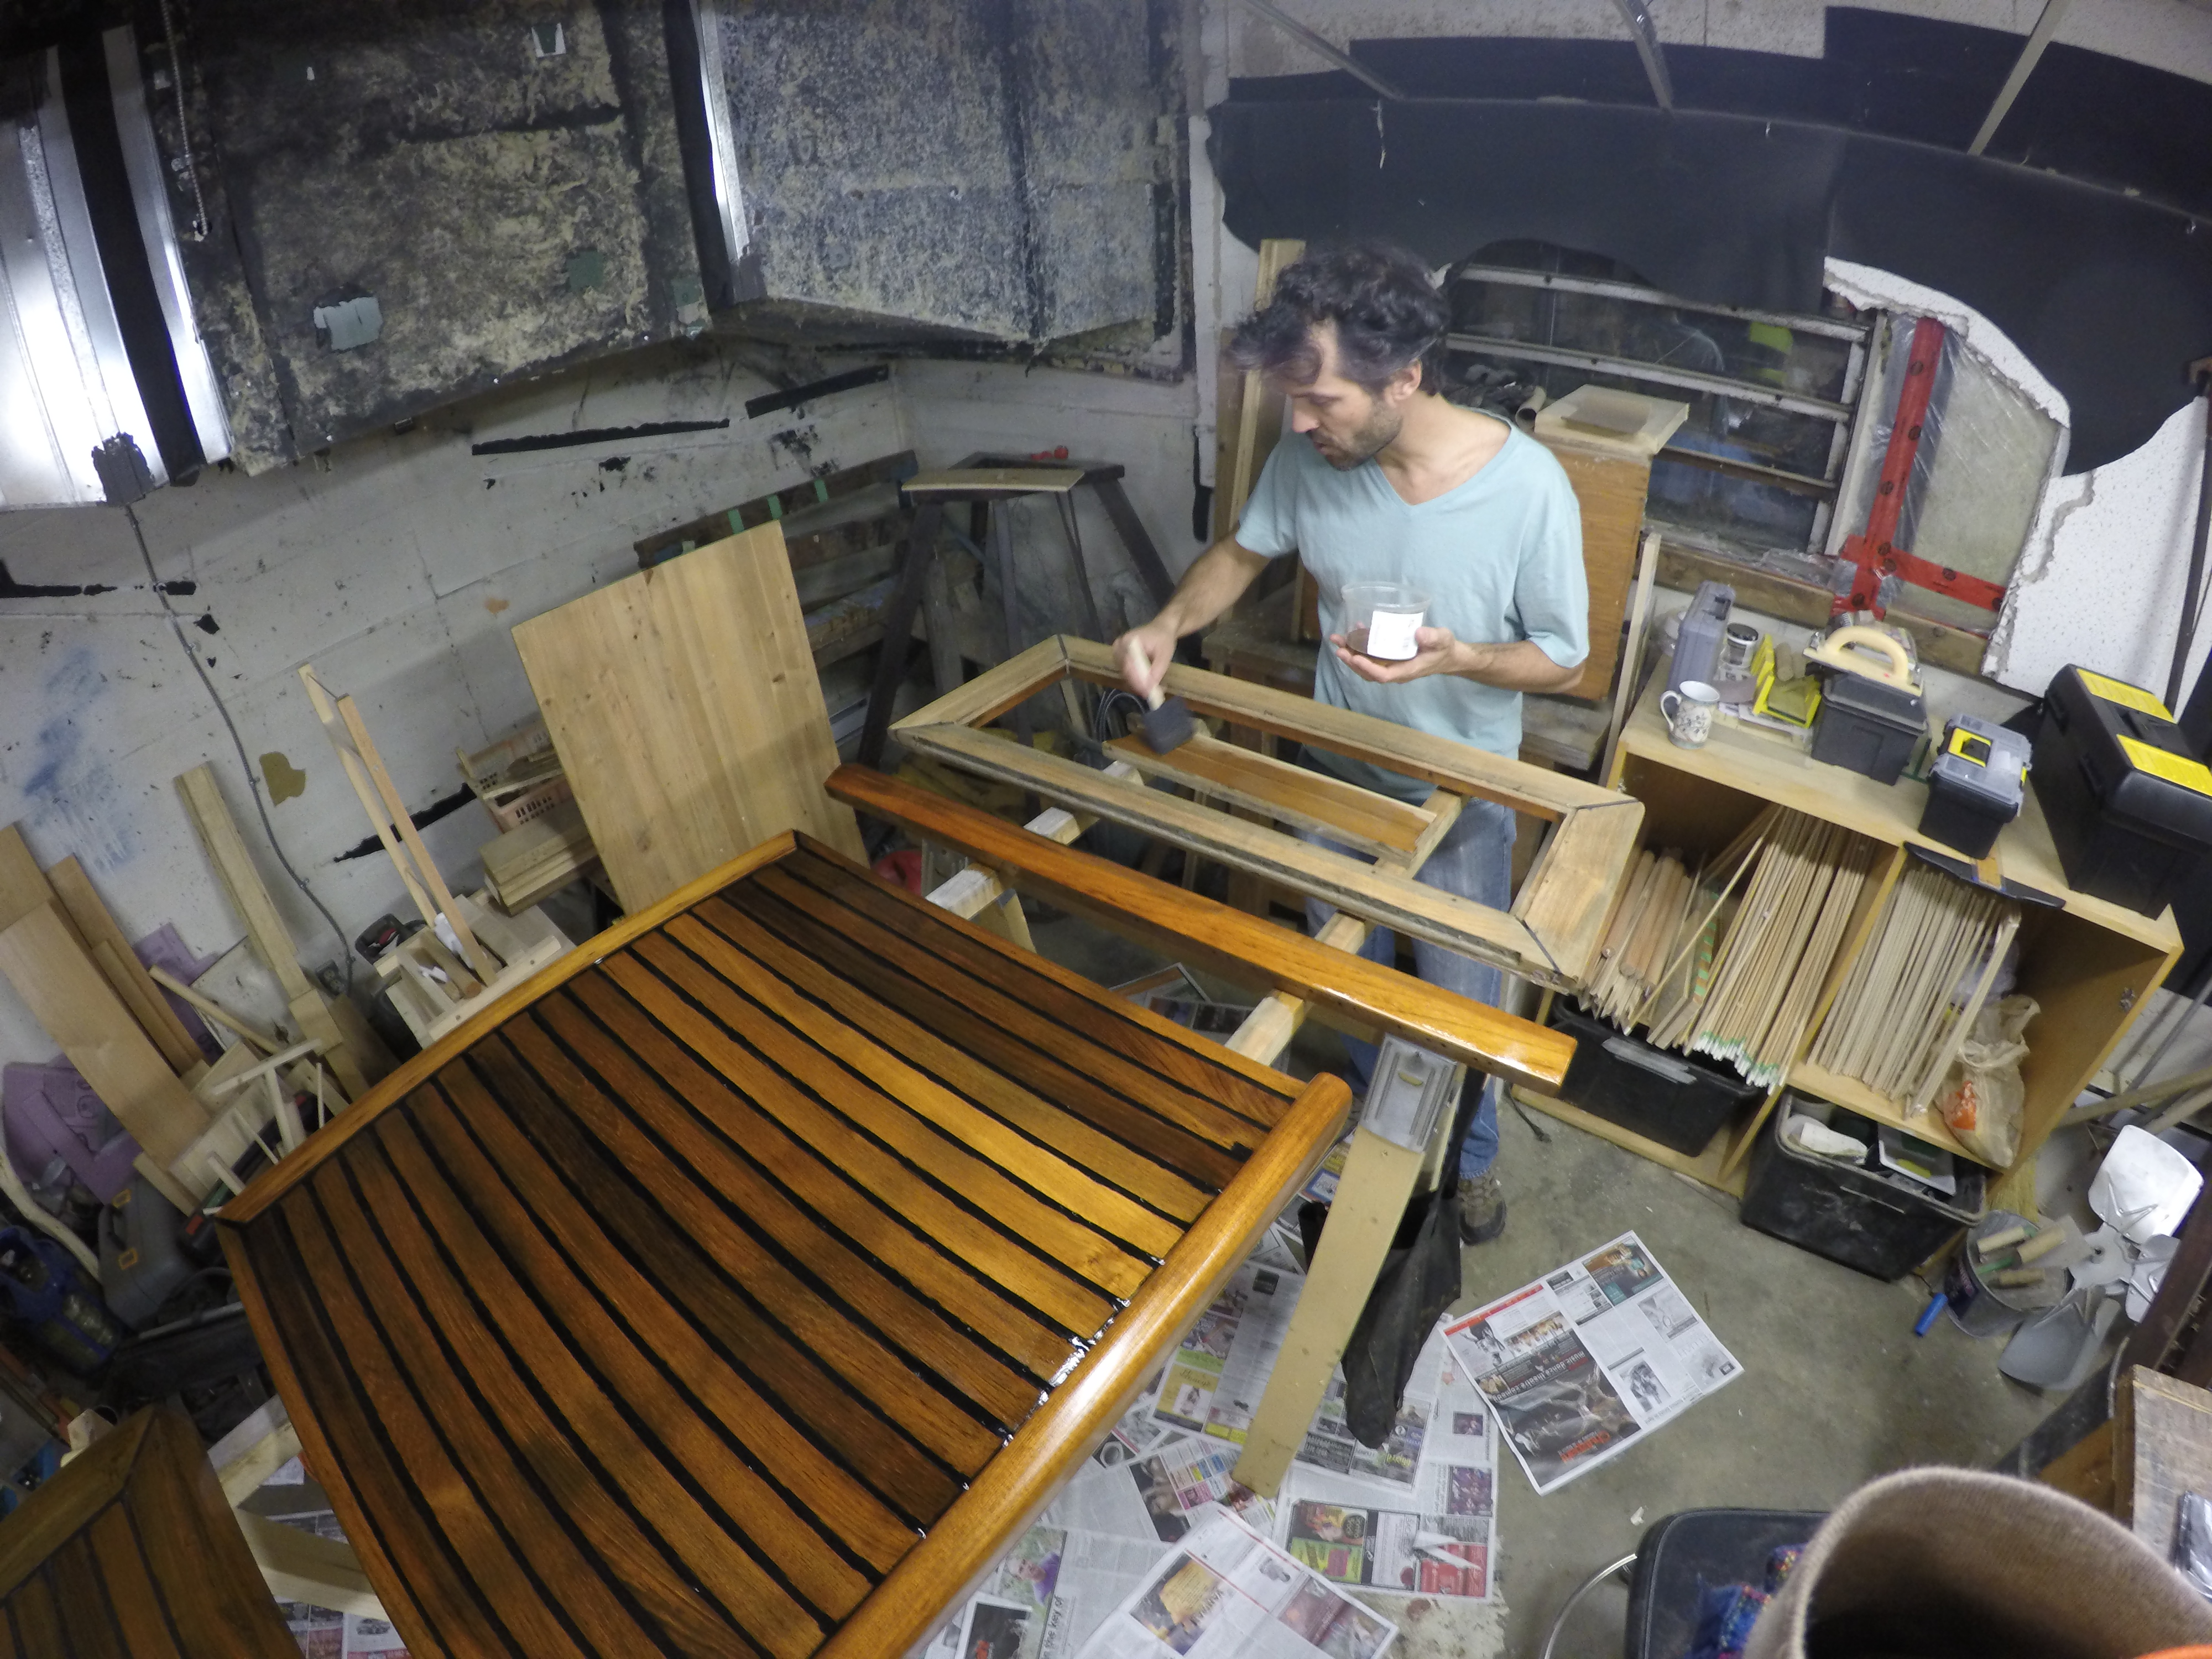
UPDATE March 2020: Do not try and fill in the groove between teak planks with black epoxy as we detail below. The epoxy quickly cracks due to thermal expansion and the whole thing ends up leaking. One of those live and learn moments!

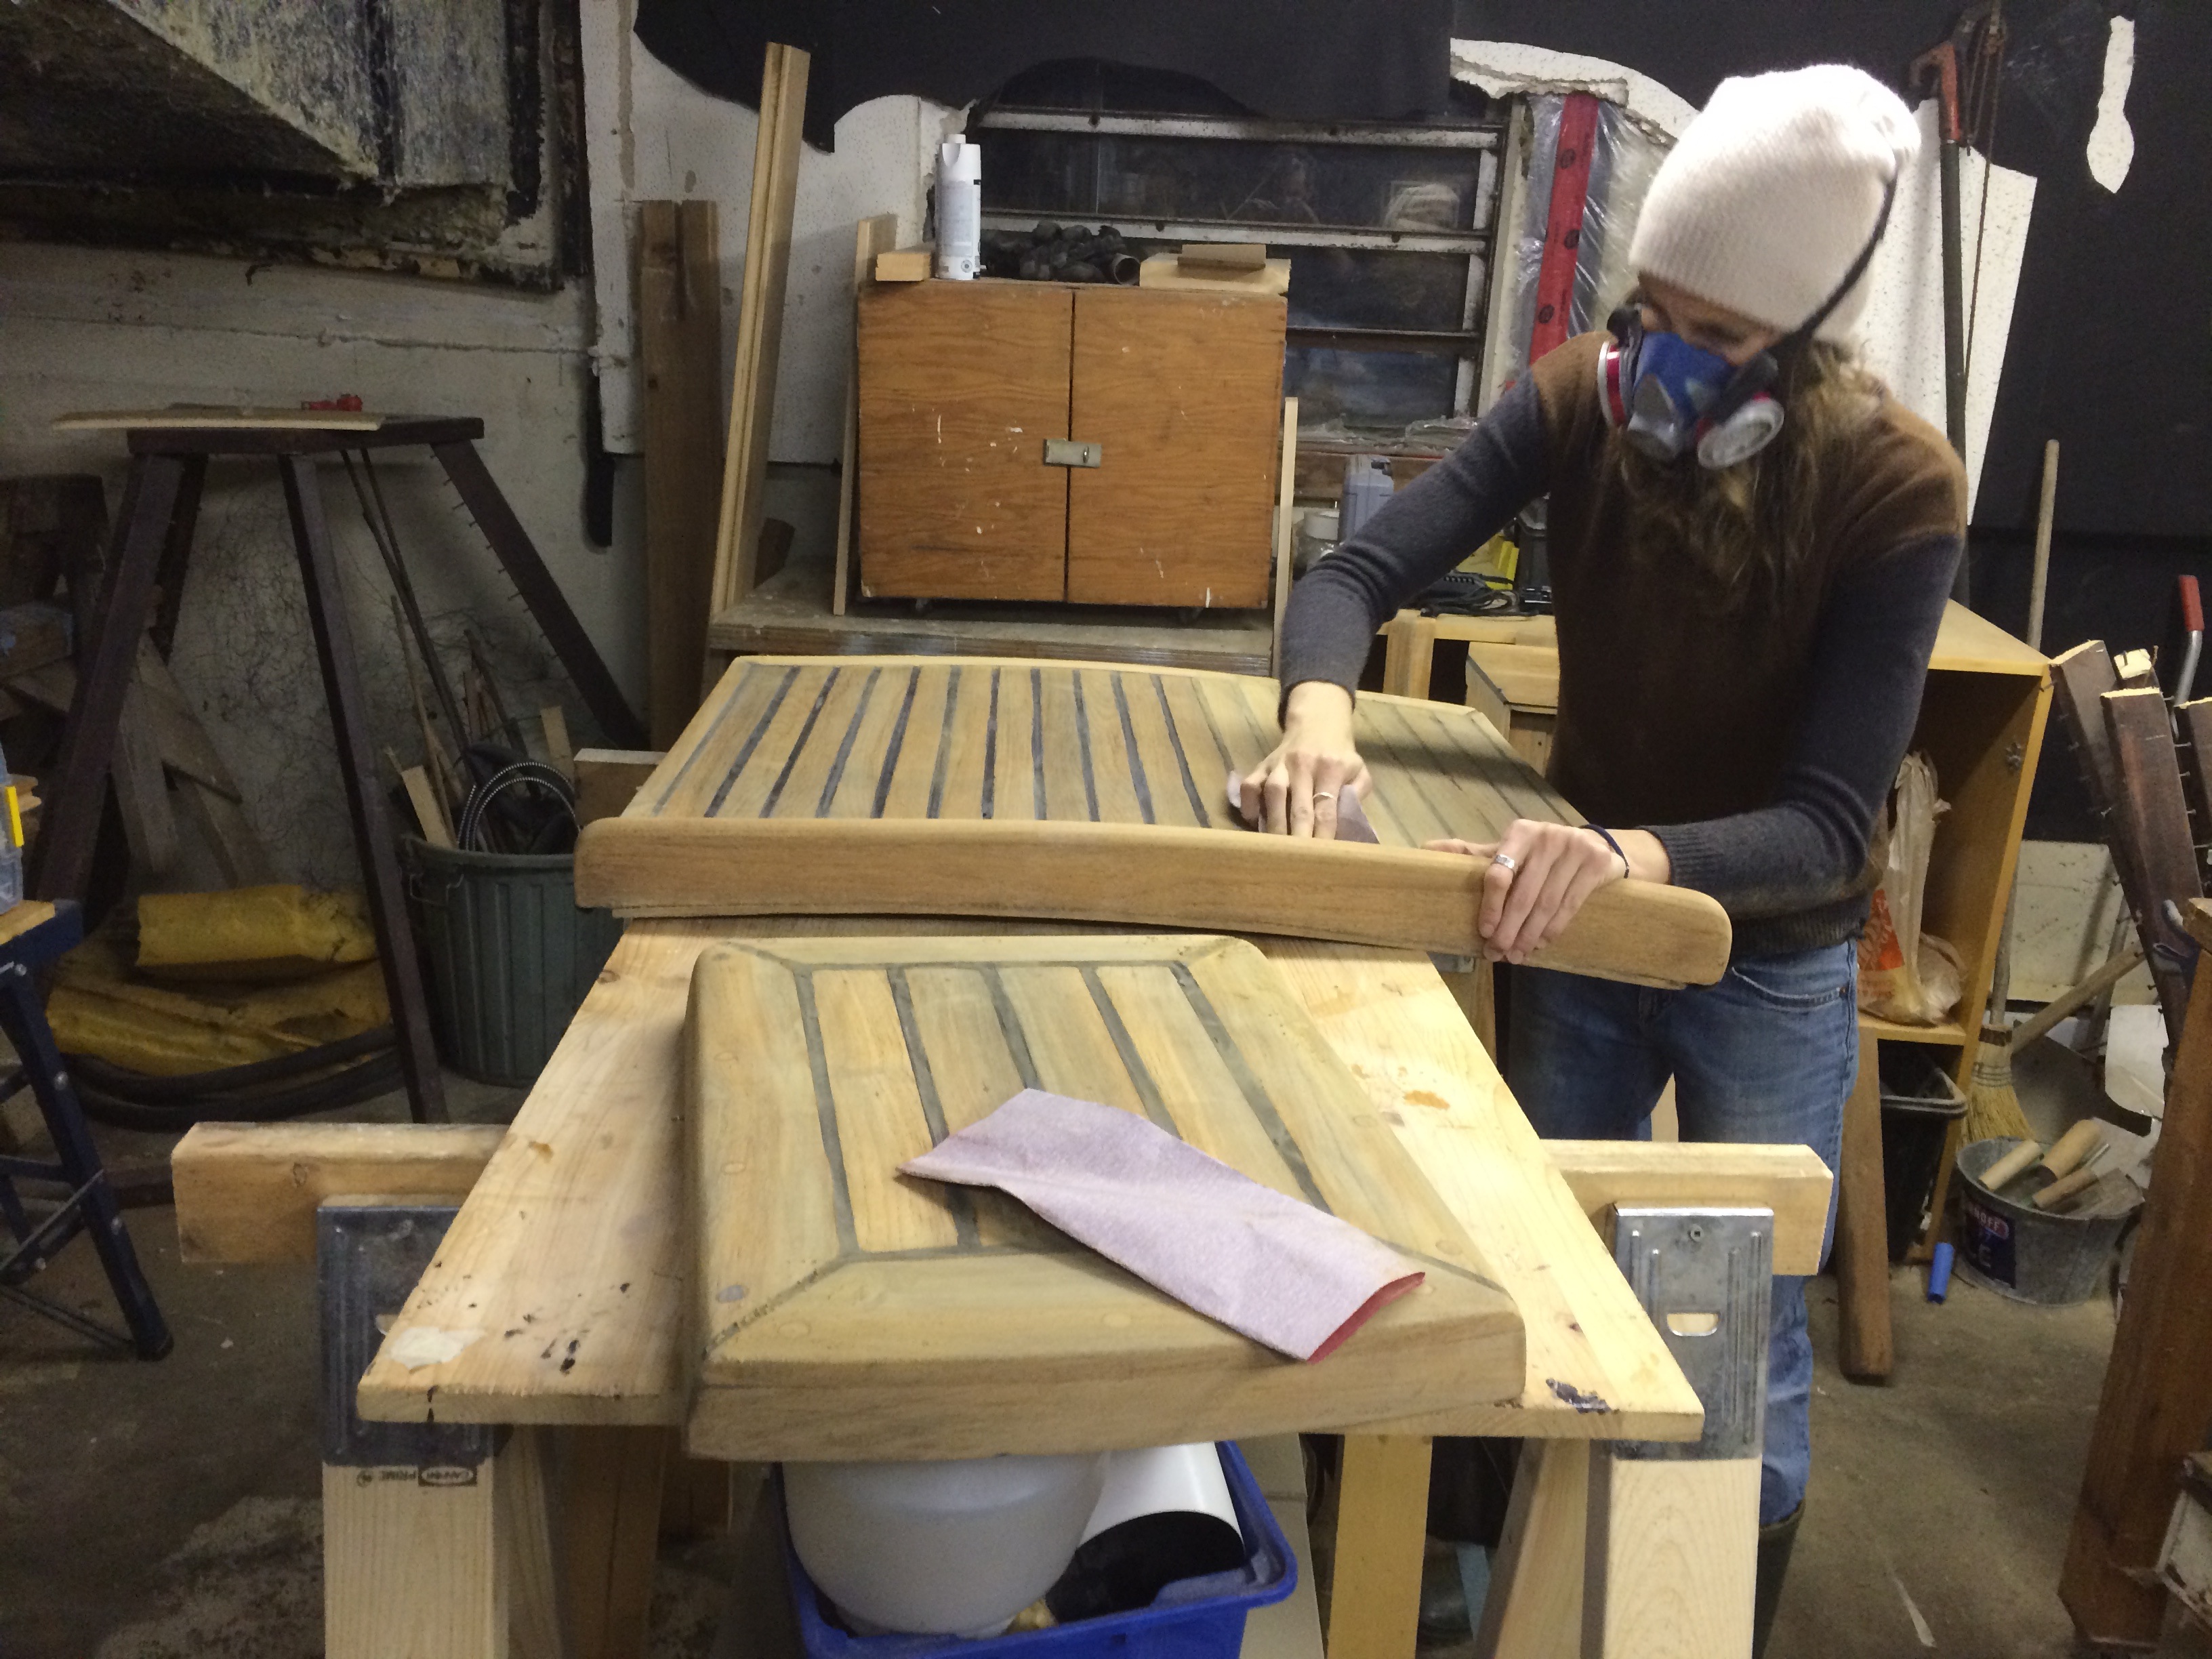
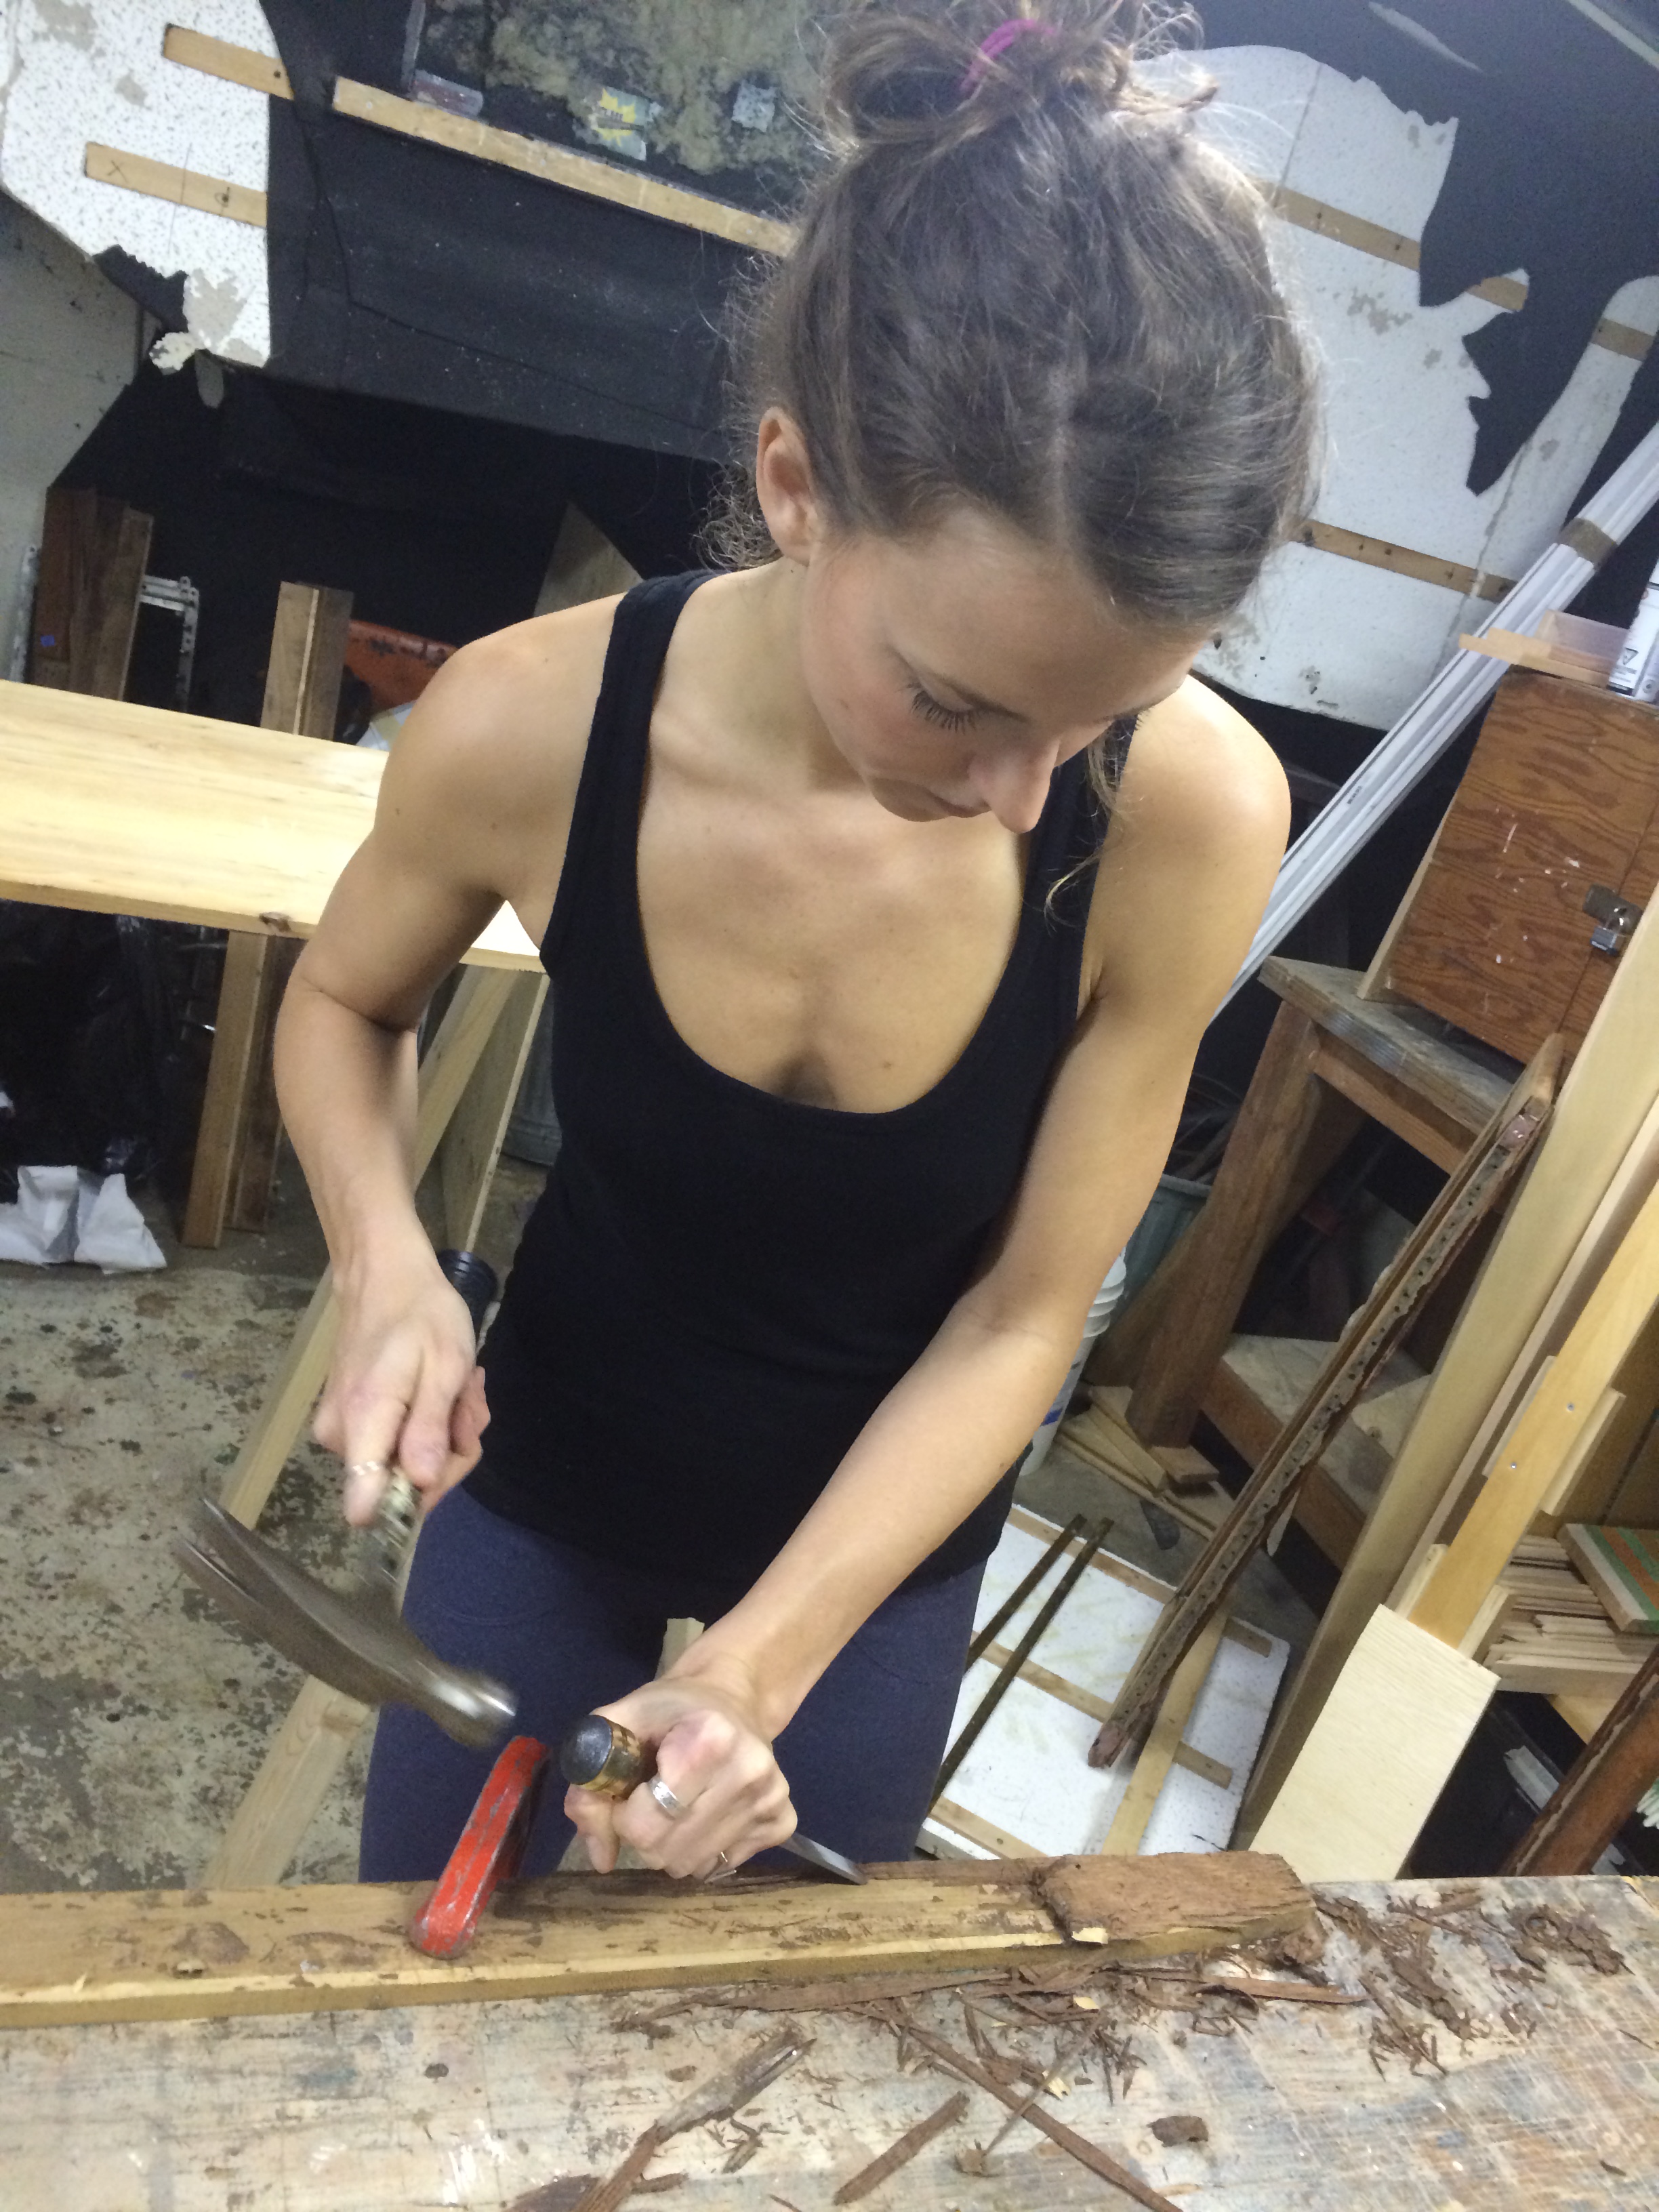
We have been working very, very hard on Leela as of late. Big life changes happening as well, subjects for another post coming soon. Who knew that buying a 38-year-old forest of teak boat was so much work? We actually do enjoy the work very much. It’s a  change for me to be doing manual work as opposed to crunching numbers all day long. The challenging part is the speed (ie timetable) at which we must complete this work. I think one day we will look back in awe at how much work we completed in 5 short months.

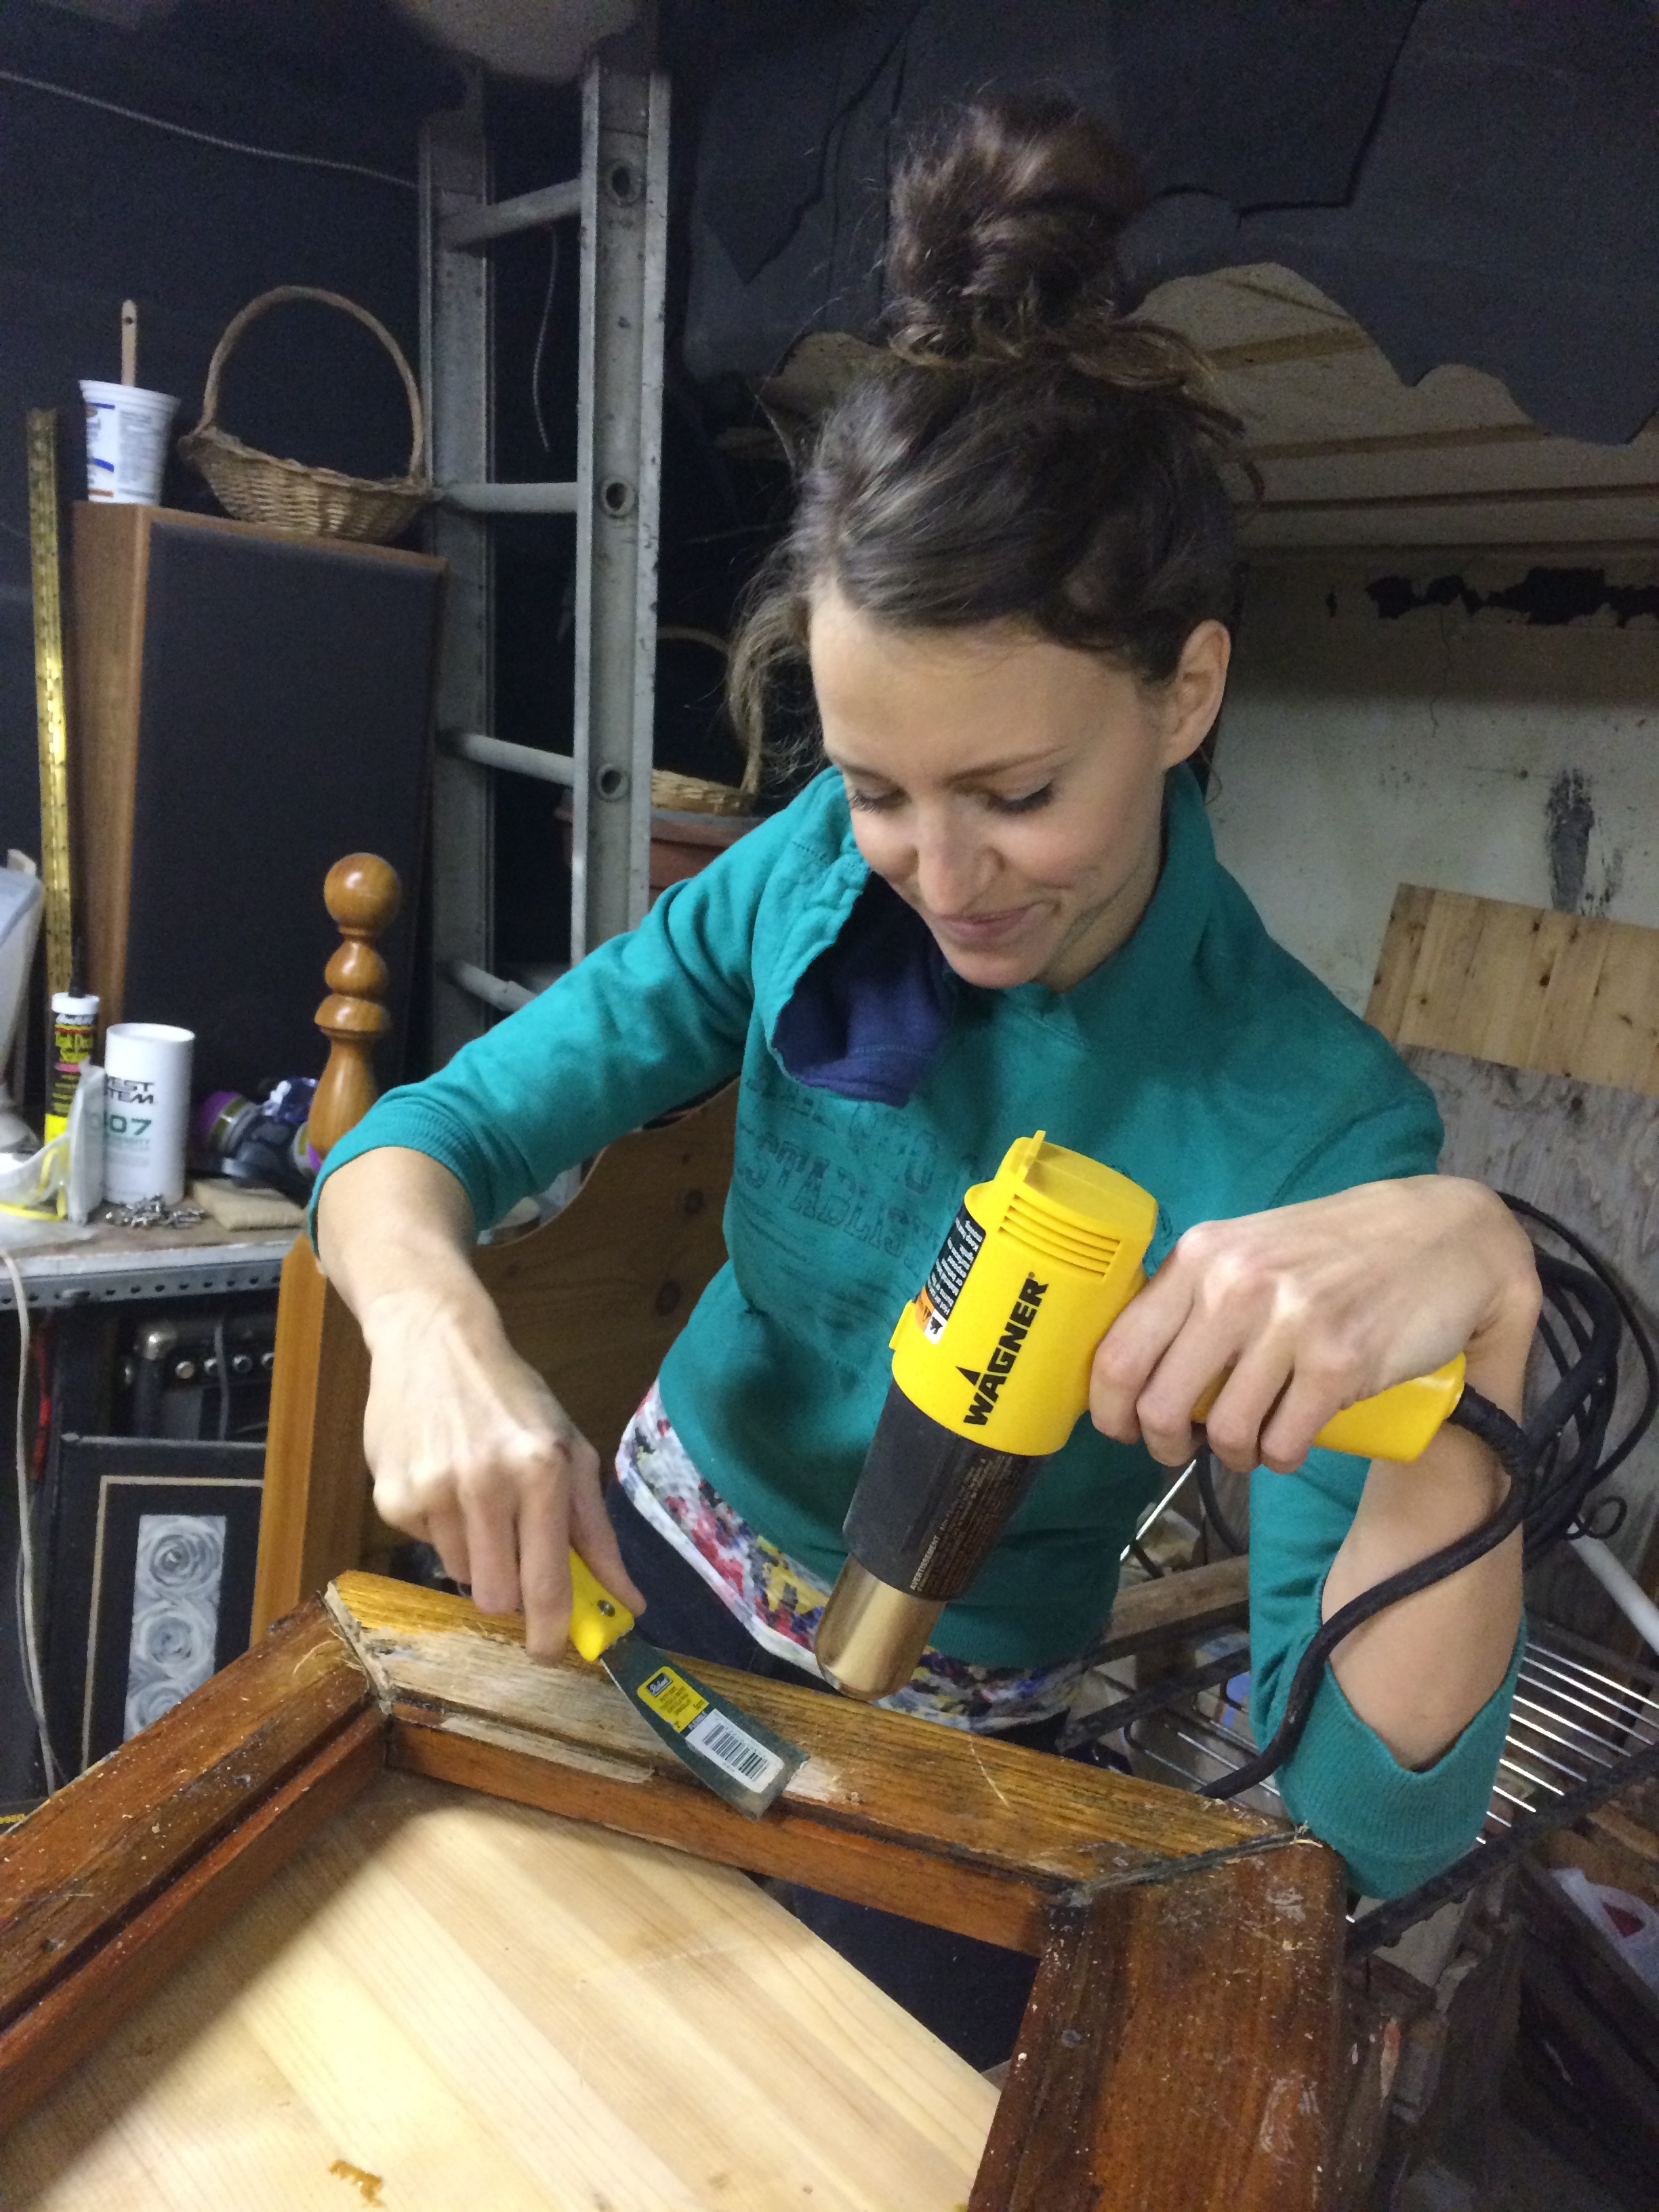
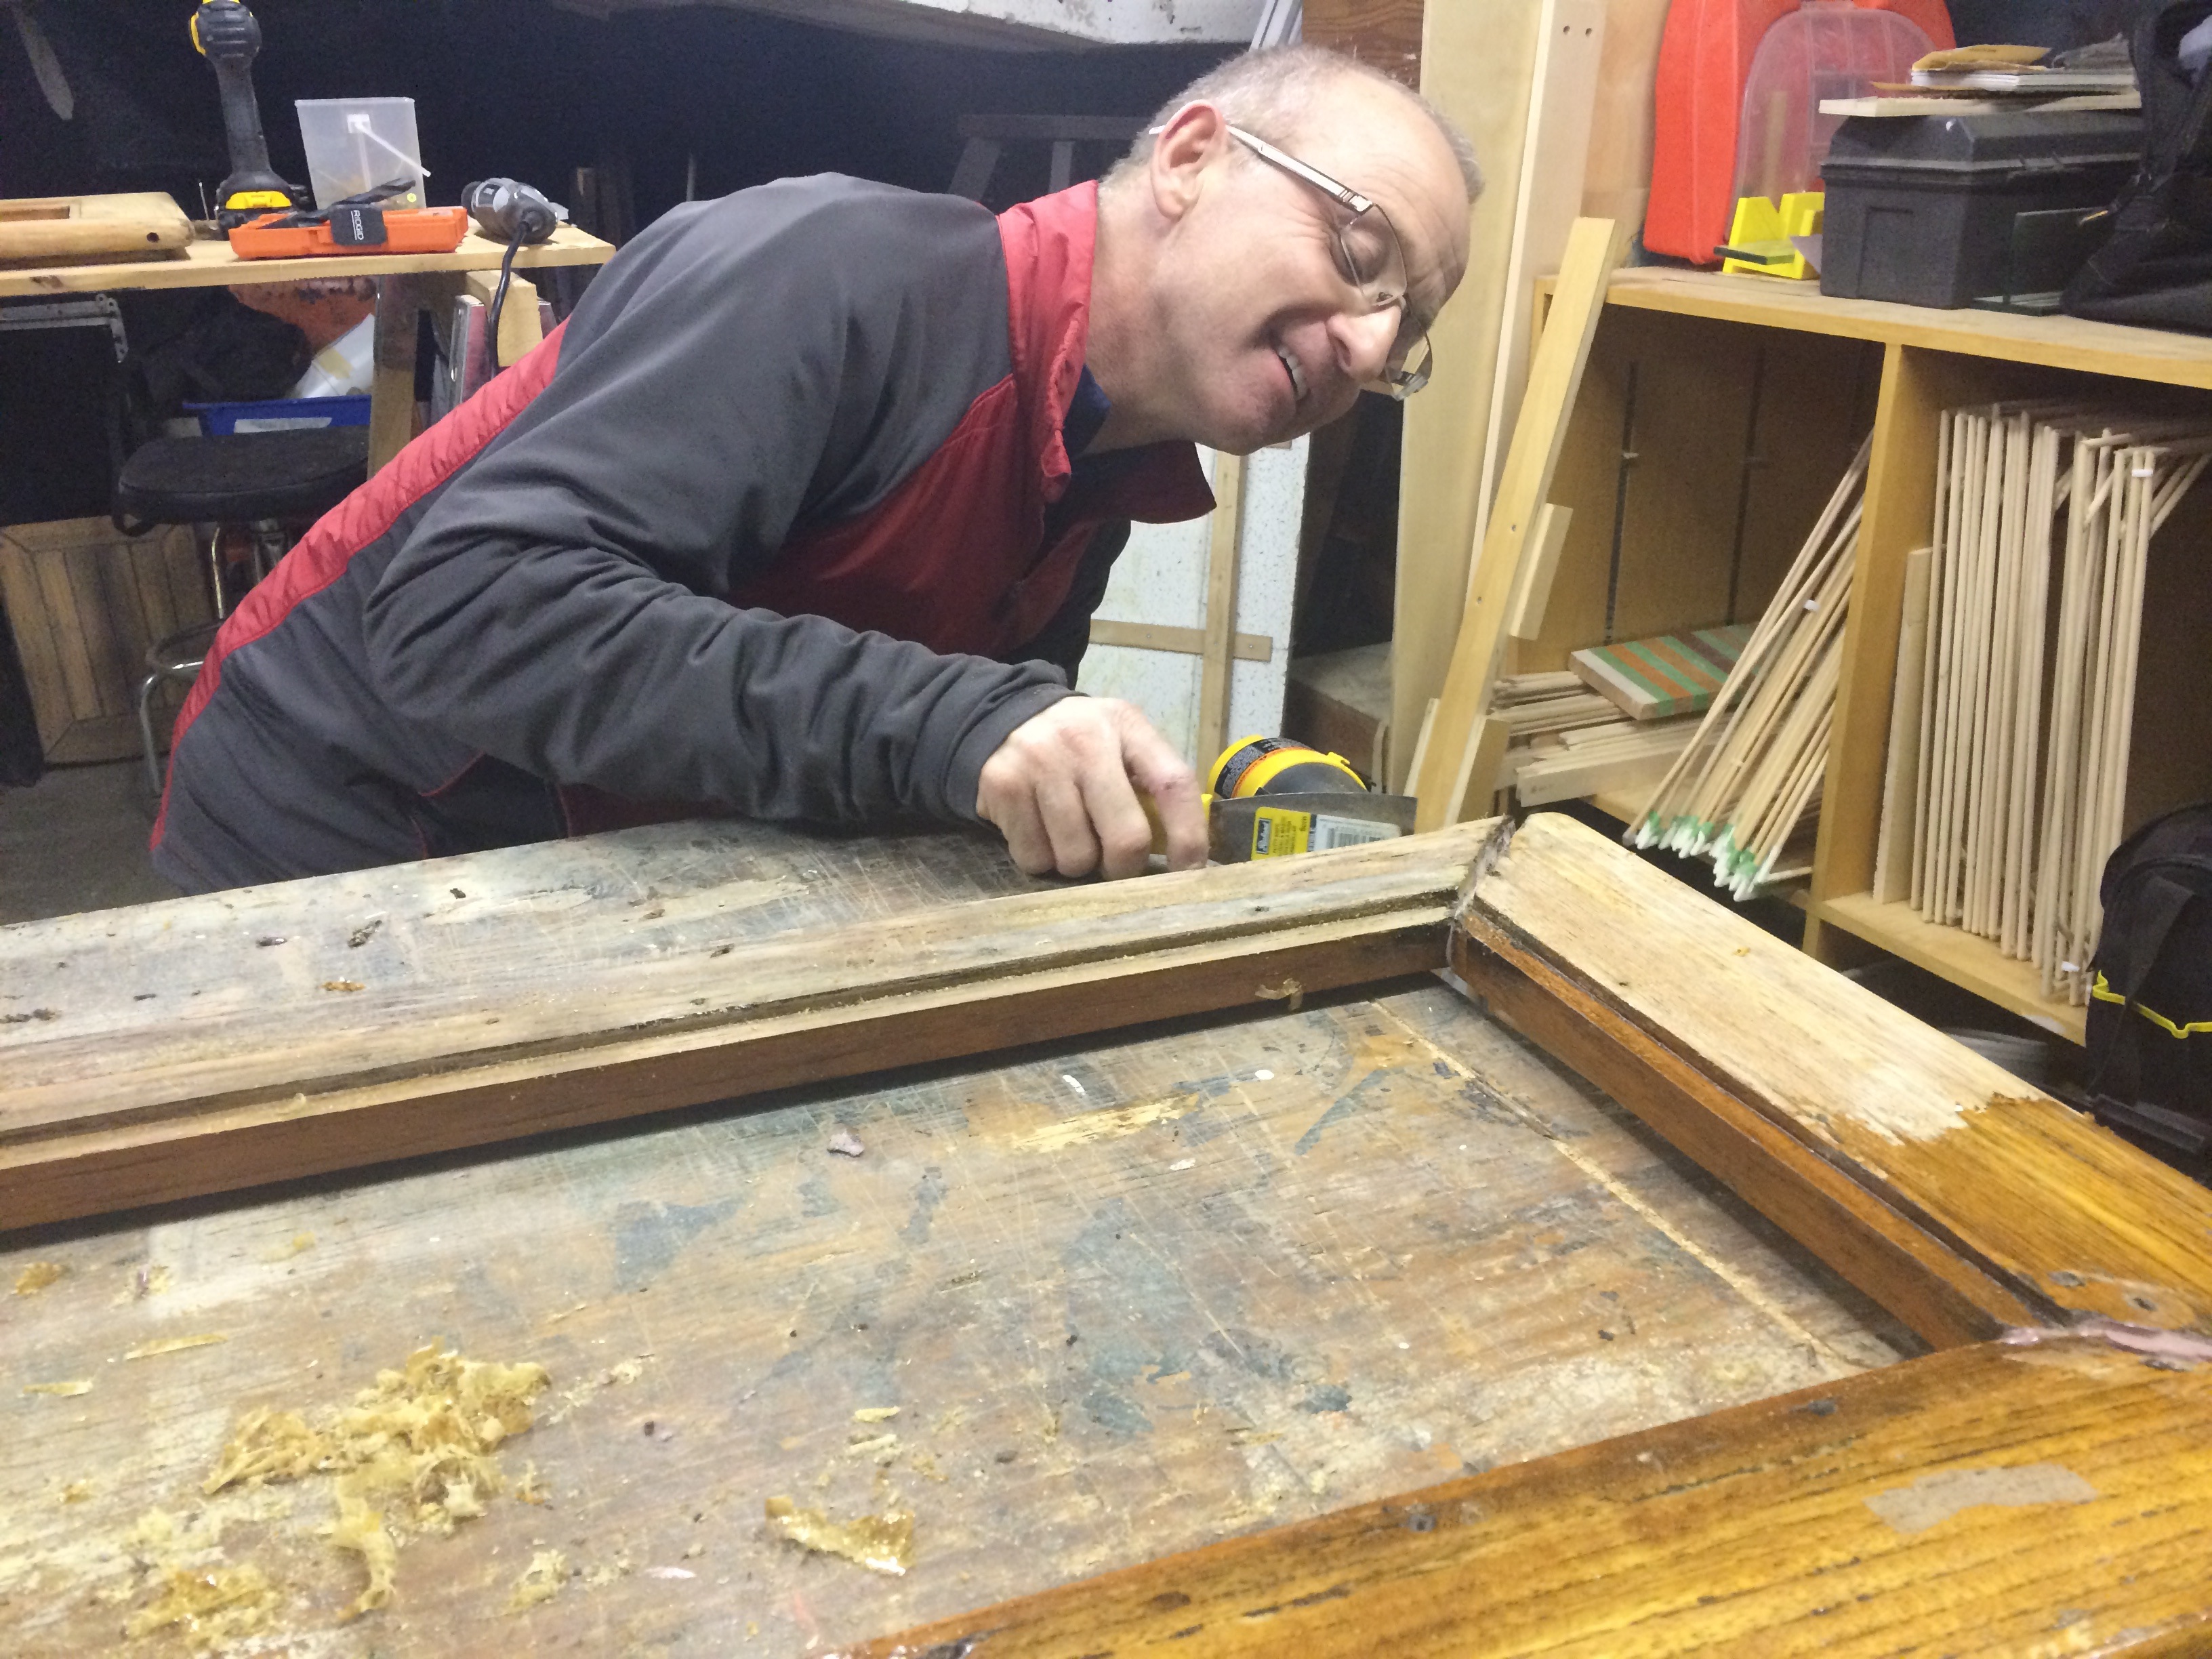
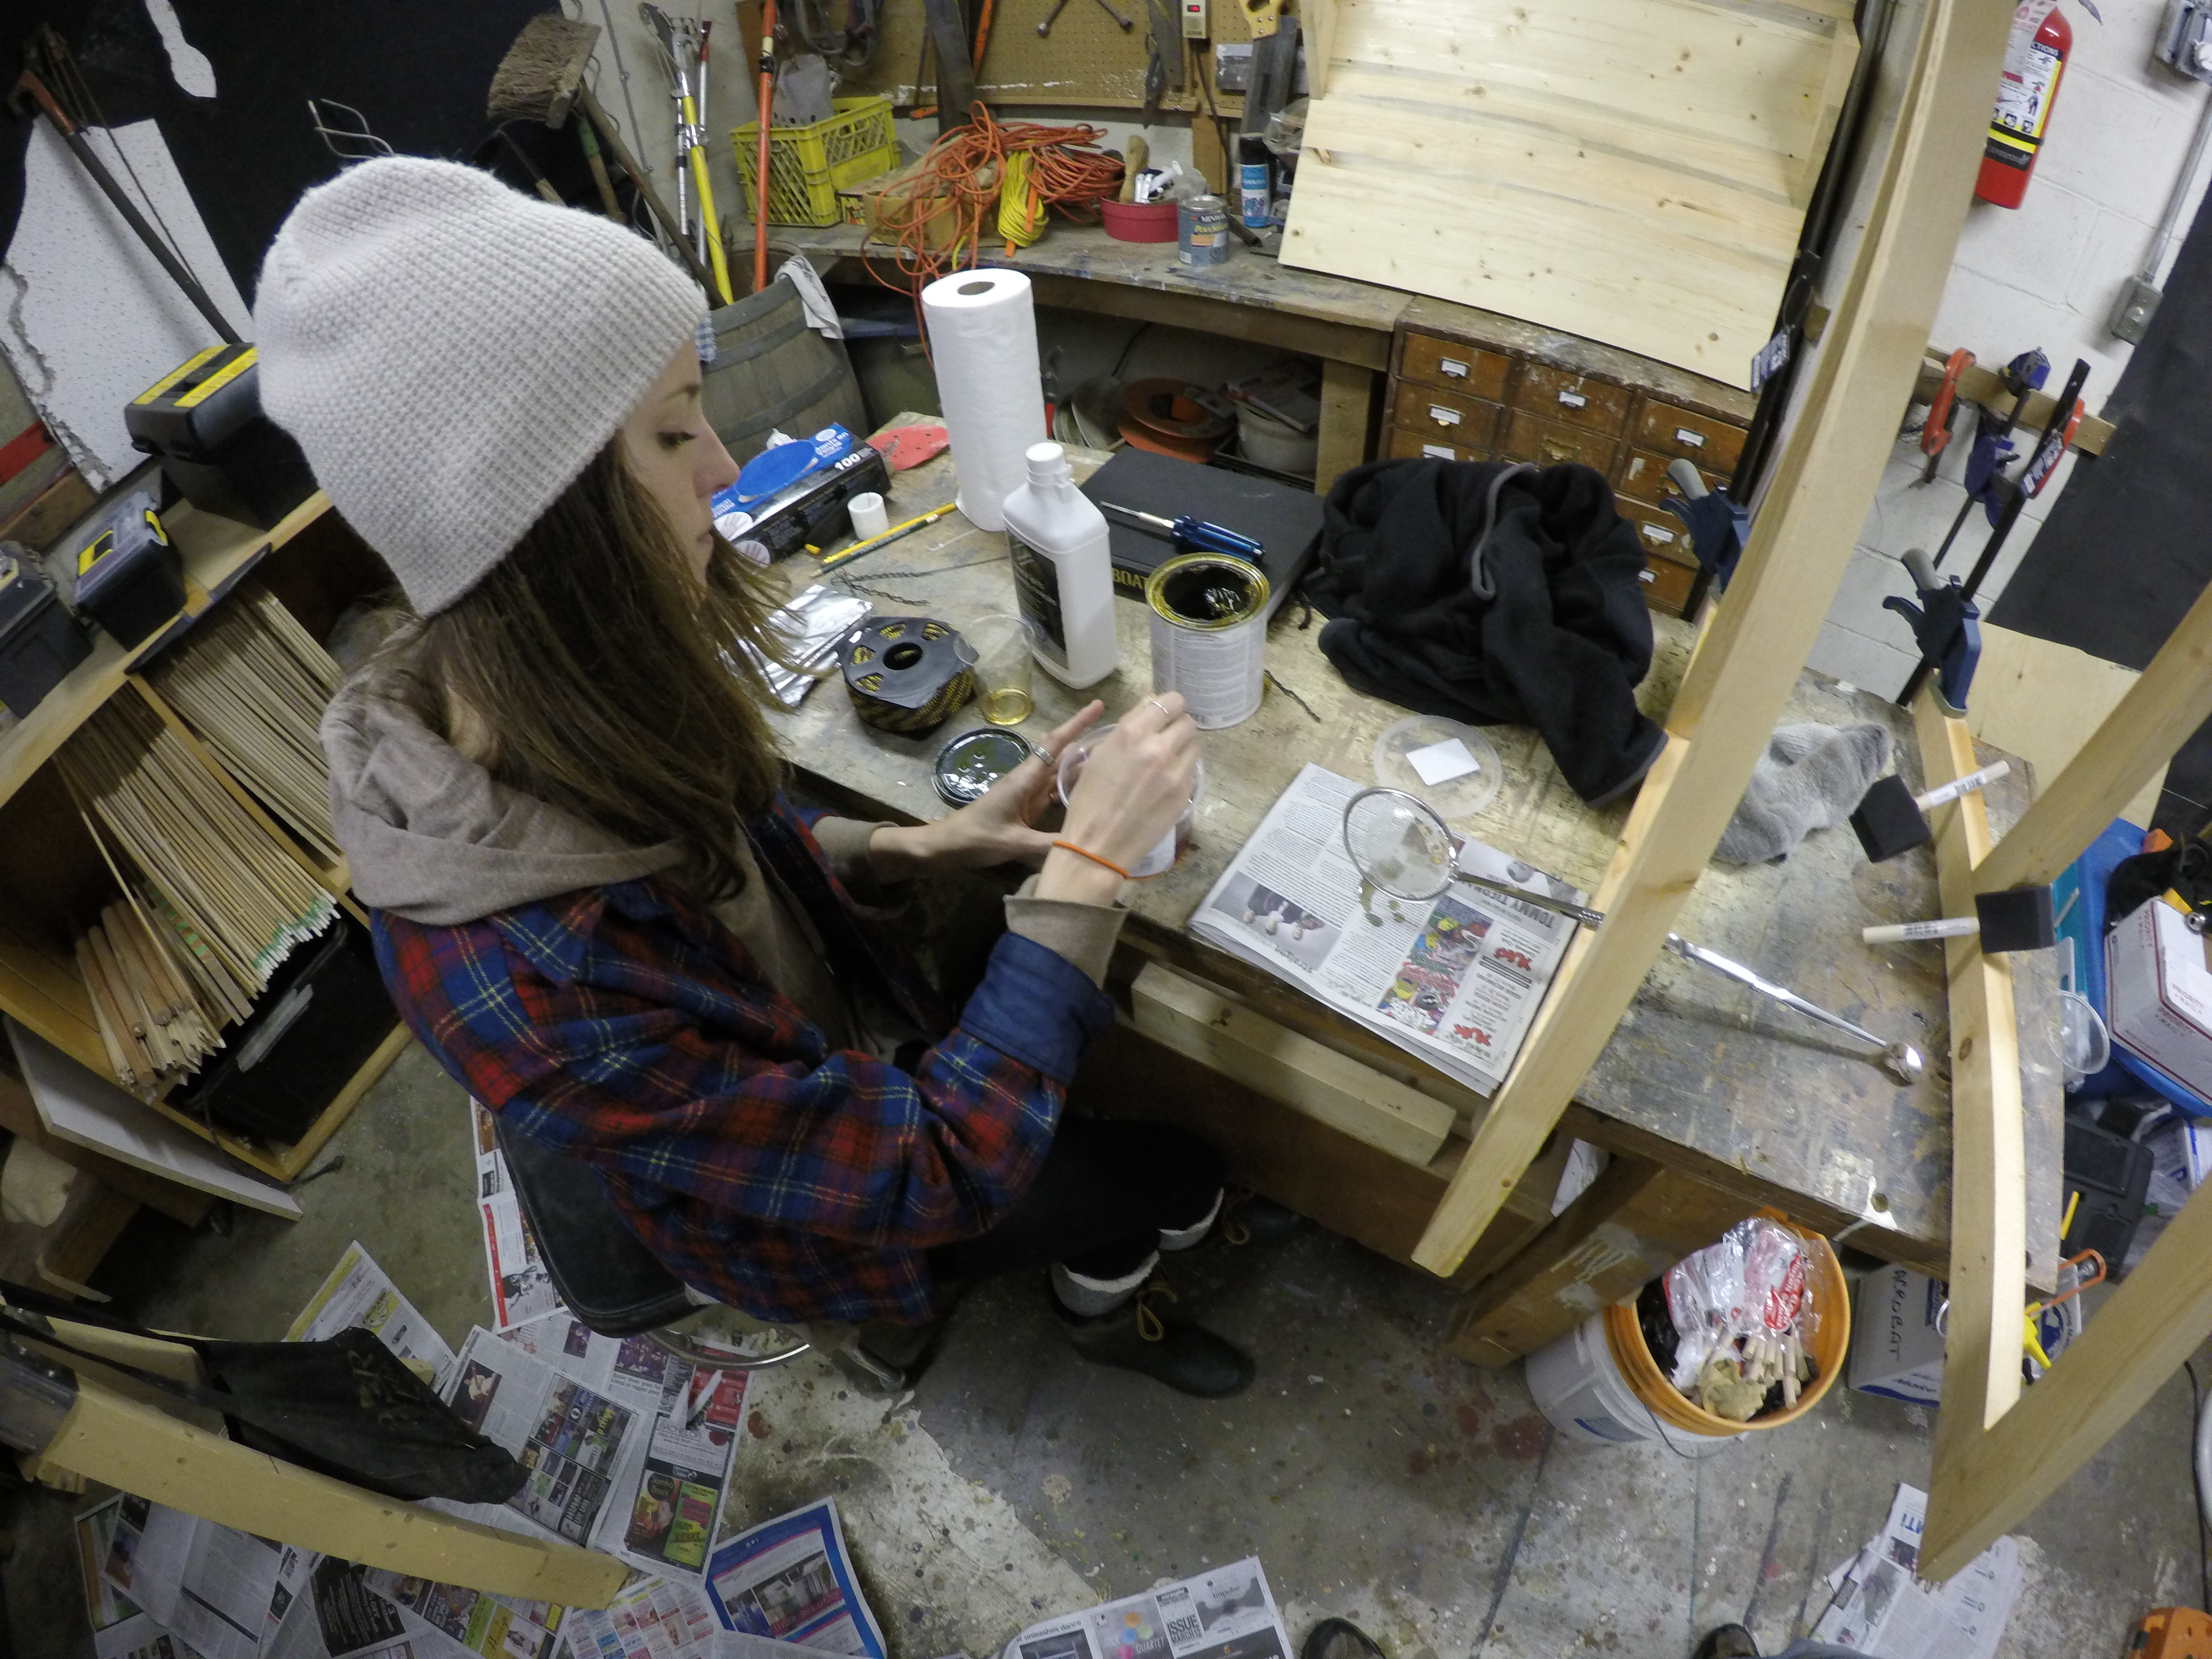
We have been lucky that the COOP at which I live(d) has a wonderful workshop. This has been our home for many evenings over the winter. Mainly woodworking type projects. Some friends came by to help here and there too! Now that the boat is under dry storage and my final day of work is coming up we are slowly transitioning out of the workshop and into the boat shop. Here is a collection of pictures of various projects over the past few months.

The boat broker broke this seat. We completely refinished it with fiberglass below and still working on the varnish on top.
Using the heat gun to remove the old varnish
The beginning of the ULTIMATE butterfly hatch rebuild project (we will a dedicate a post to this)
The beginning of the ULTIMATE butterfly hatch rebuild project (we will a dedicate a future post to this)
Matie Mike Liverton also needing a break from number crunching helps with varnish removal
Matie also needing a break from number crunching helps with varnish removal
Masking tape prior to filling seams between teak with black epoxy
We made a decision to fill the seams in our deck brightwork with black epoxy. Longer lasting, harder surface, do it one and don't worry about it ever again.
We made a decision to fill the seams in our deck brightwork with black epoxy. Longer lasting, harder surface, do it once and don’t worry about it ever again. The epoxy is made black by adding a pigment (in foreground) at 10% maximum pigment per total volume
Black epoxy provides an easier and harder surface to work with than polysulphide when the whole thing will be varnished
Our refreshment of choice during boat work, Rolling Rock!
Final sanding before varnish work begins
Removing old glued on plywood from under table prior to re-gluing. Our table ripped off the floor assembly when Saxony went flying into the whole thing during a strong gust that saw the boat heel over .. just a tiny bit
Removing old glued on plywood from under table teak planks prior to re-glueing. Our salon table ripped off the floor assembly when Saxony went flying into the whole thing during a strong October gust that saw the boat heel over, well … just a tiny bit
Preparing the varnish using Don Casey's from "This Old Boat" sage advice
Preparing the varnish using Don Casey’s from “This Old Boat” sage advice. And the first pic with our new GoPro Hero 4!
Base coat of varnish on our brightwork. This coat is 50% diluted with mineral spirits. Yay for finally getting to this stage! Now 10 more coats to go..
Looking good! (The varnish, not me.. :-)
Looking good! (The varnish, not me.. 🙂
Previous PostNext Post
4 Responses
  1. Christine

    It’s looking really good! I like the look of that black epoxy.

    Our engine has fared several long sea trials quite well. All the free loaders have been scraped off the bottom and Andrea will go to move her the first leg of the long trip north this weekend. Keep your fingers crossed for us!

    1. Emmanuel

      Christine, just a heads up. DO NOT use the black epoxy technique. There is a reason why people use the flexible black polysulphide material like TDS Systems. The teak swells and shrinks based on weather and humidity. The epoxy does not. In long straight lines of epoxy like used int he above examples the epoxy simply cracks or splits. We’ve had this happen at all of our pieces we epoxied with black pigment. Not recommended

Leave a Reply